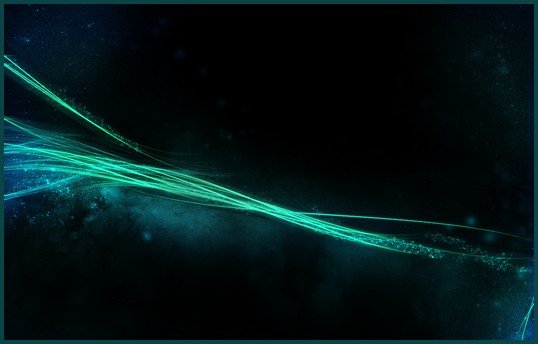
14 Sep Create a Fantastic Abstract Design in Photoshop

In this tutorial I would like to present how to create a fantastic abstract design in photoshop. We use very simple and amazing method for beginners to create easily abstract design that looks so awesome. So, why not have a try…
Step 1:
Create a new document with black background; size doesn’t really matter in this tutorial. We will start design using Pen Tool in Photoshop. Press the “P” key to select the Pen Tool, draw a work path as shown below:

Once you’ve drawn the path, select the brush tool and apply the following settings: (5px, 95% hardness)

Press “P” to select the Pen Tool in Photoshop again, right-click on the path and choose “Stroke Path”:

Stroke the path with the brush we selected, tick the Simulate Pressure setting:

Here is the stroke effect: (I used the green color here)

Duplicate this layer once, hit Ctrl + T and rotate it slightly counter-clockwise, move it to left a little as shown below:

Repeat this process, duplicate a few more lines, rotate and move each line slightly to form the following effect:

When you’re happy with the shape, merge those layers together by selecting all of them in layer palette, right-click on one of the layers and choose “Merge Layers”. Duplicate the merged layer a few times, rotate, and resize them with Free Transform Tool to form the effect shown below:

Adjust the layer opacity of each duplicated layer to create some image depth:

Step 2:
Now we can paint some crystal dots around the stream symbolizing some sort of life form. We can use brush dynamics to achieve this effect. So grab the brush tool with the following settings:
![]()
Scattering

Other Dynamics

And make sure you tick Airbrush and Smoothing options.
Use this brush to paint some dots around the stream lines with green/blue color:

After you’ve done the painting, apply the Sharpen filter on this dots layer:

As you can see, now the dots look sharper and crystal-like:

And here is the overall effect so far:

Optional: You can also paint some dots on the background to add some depth for the image. You can use a softer brush as shown below and use it to paint around the canvas:


Step 3:
Now we can add some starry background to the image by creating a new layer just above the background layer, and use some space brushes to paint over it.
We can then flatten the image, then duplicate the background layer and apply some Motion blur to the duplicated layer:


Change the blending mode of this motion blur layer to “Screen” and drop its opacity to around 60%:

Final Result:
Hope you can learn something new from this tutorial.
I feel really glad if you give me feedback through comment below. Soon i am going to show more interesting & innovative tutorials so please keep visit our blog. That’s for now.
If you need any photo editing help please contact us for clipping path service anytime at very low cost with quick turnaround time.
Have fun!
Thank you… 🙂
Reference: psdvault


Collin
Posted at 05:58h, 23 JuneIt is an awesome work indeed. It’ll help me to do some new.
kiran kumar
Posted at 08:08h, 11 JanuaryReally awesome work.
No words. 🙂