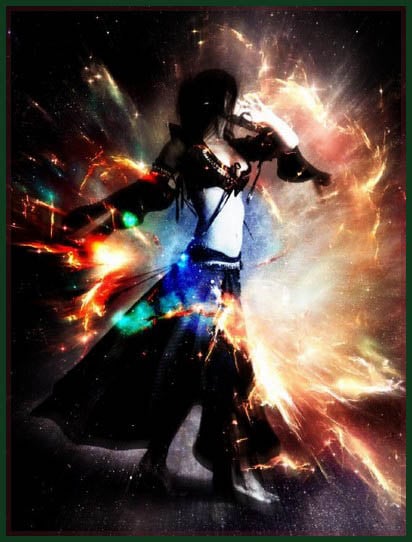
05 Apr Create a Fantastic Space Dancer with Nebula Texture using Photoshop
Today’s tutorial, we will show you how to create a fantastic space dancer with nebula texture using photoshop. In this tutorial we will be using image adjustment options, layer blending, masking, filter effect and very importance to choose the right stock texture for design. So why not have a try…
To complete this tutorial, you will need the following stocks:
- Dancer
- Nebula Texture 1
Step 1
Load the dancer image into Photoshop and resize the image to 1200px * 1477px. The purpose of resizing image is to make it rough the same size as the textures we’re going to apply on it.
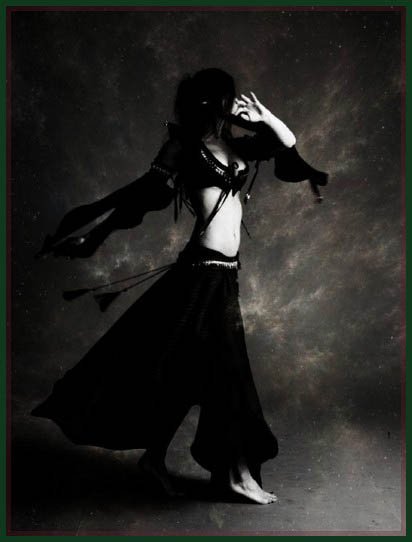
Make a duplication of the background layer, hit Ctrl + Alt + Shift + B and apply the Black and White adjustment Tool with following settings:
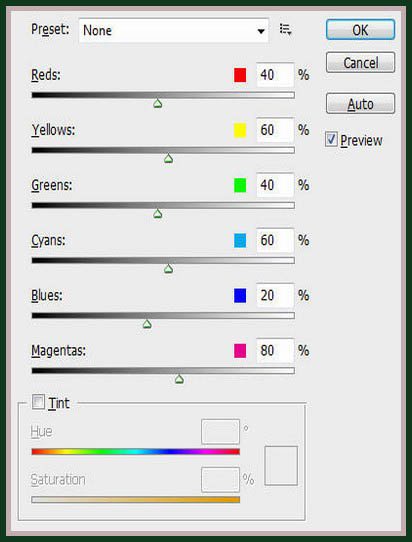
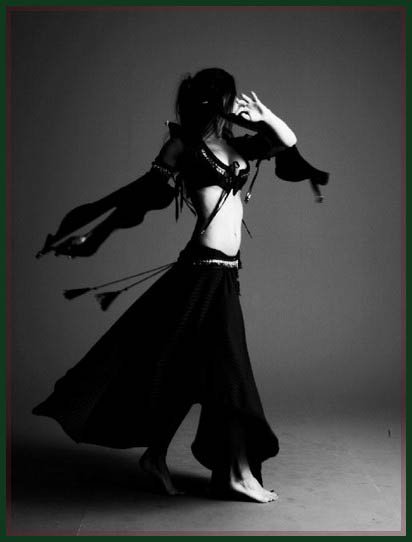
Name this duplicated layer “black and white”. Make another two duplications of this “black and white” layer and change the blending mode of those two duplicated to “Hard Light”.
You will have the following effect so far:
Step 2
Load the “Nebula texture 1″ image into Photoshop, copy and paste it onto our dancer document. This will create a new layer and let’s name it “nebula texture 1″.
On this “nebula texture 1″ layer, go to Edit > Transform > Free Transform (or Ctrl + T), resize, rotate this layer as you wish, the ultimate goal is to find a position where the outer part of the nebula image is surrounding the model.
When you’re satisfied, right-click this nebula texture 1 layer and choose “create clipping mask”.
Here is the effect so far:
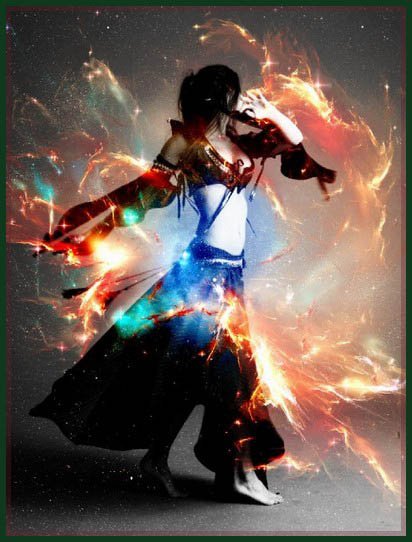
Now we can go on and add some image adjustments layers for the nebula layer, so as to make it more stand-out.
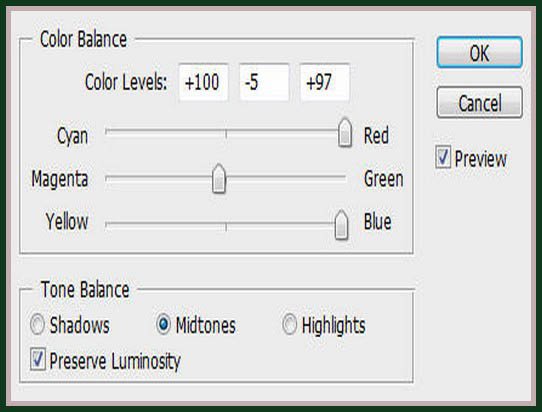
From bottom to top, we add the following image adjustment layers: (make sure you tick the “use previous layer to create clipping mask” option for every one of them)
Color Balance:
Levels:

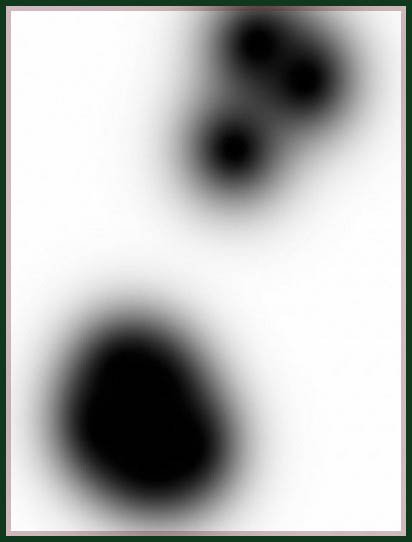
On this Levels adjustment layer, apply the following layer mask:
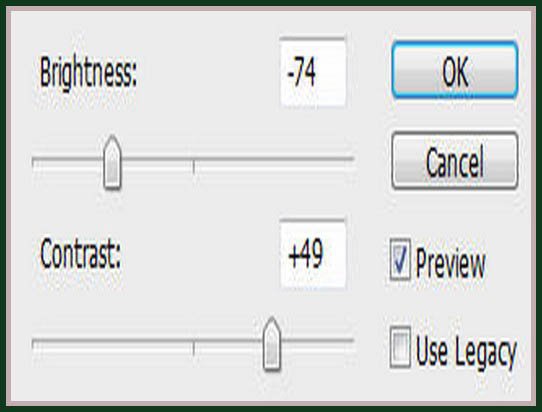
Brightness and Contrast
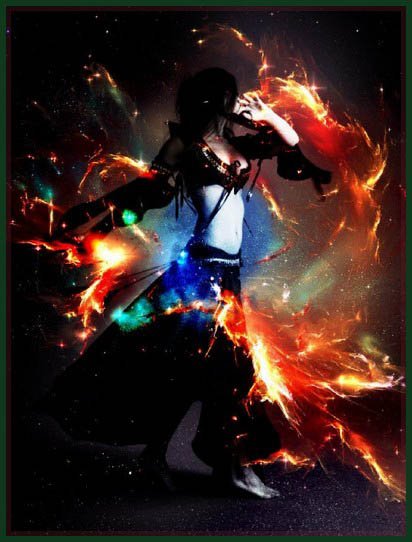
and you will have the following effect so far:
Step 3
Load the “Nebula Texture 2″ into Photoshop, copy and paste it onto our dancer document and use the Free Transform Tool (Ctrl + T) to resize, rotate until it fits into the canvas.
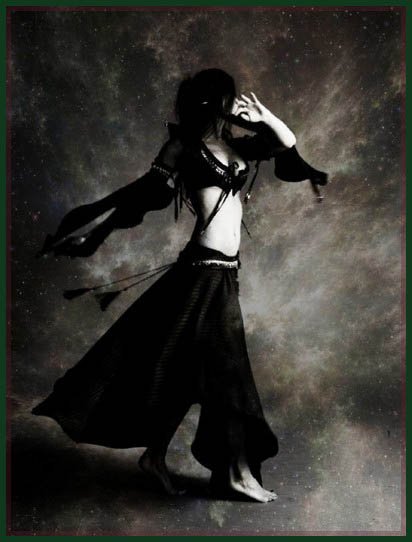
Name this layer as “nebula texture 2″ and change its blending mode to “soft light” and you will have the following effect: (I hide the previous “nebula texture 1″ layer and its related adjustment layers)
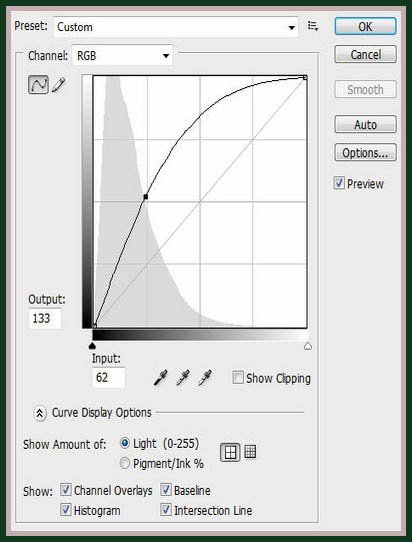
To add a bit more contrast to this “Nebula Texture 2″ layer, we can add a Curve Adjustment layer (Make sure to tick the “use previous layer to create clipping mask” option) with the following settings:
Here is the effect afterwards:
Step 4
Make all layers visible, you image should now look like this:
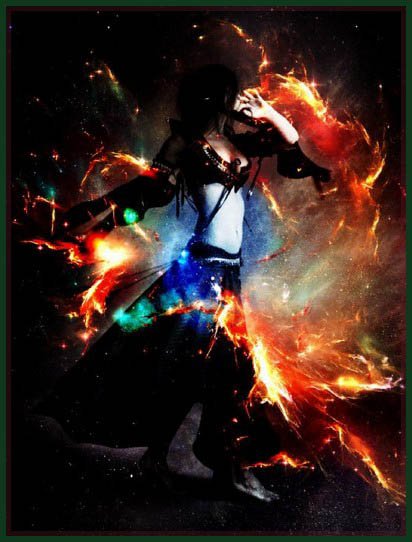
Now we can do some retouch of the image. I personally feel the colour contrast is a bit too much, so I add another Hue/Saturation Adjustment Layer on top of all layers, with the following settings:
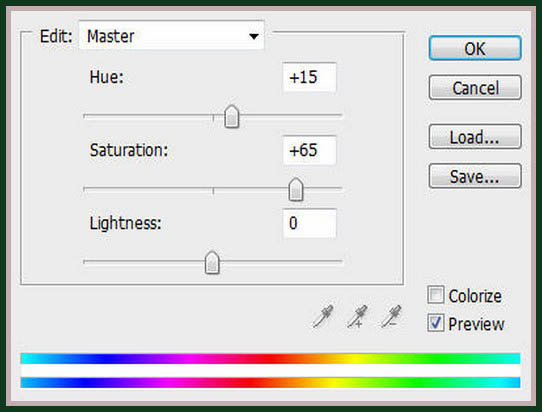
You will now have this effect:
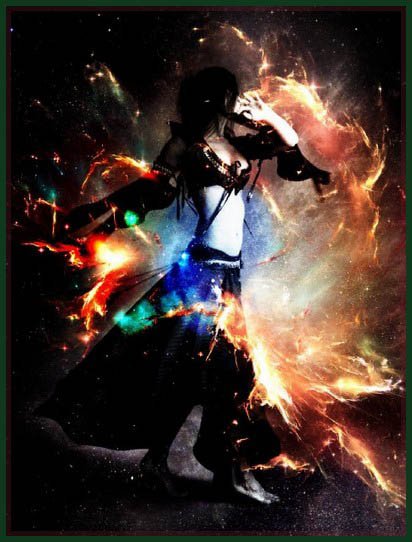
You can of course try out other adjustment tools and see what result that bring you.
Step 5
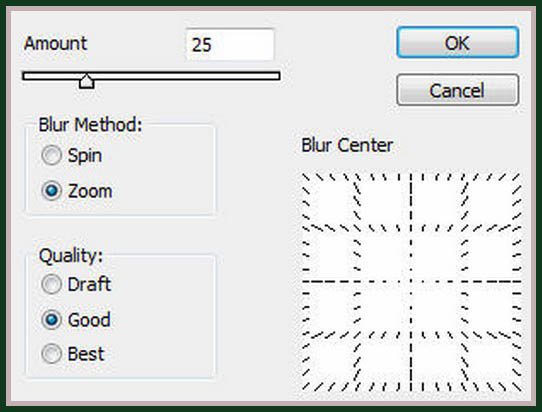
Now we can add some motion into the image. To do this, flatten the image (I would suggest before you flatten the image, save a copy of the existing file, then the save the flattened image as a new psd file), duplicate the background layer once and go to Filter > Blur > Radial Blur and apply the following options:
Final Result:
Change the blending mode of the duplicated layer to “Screen” and opacity to 80%, you will have the following final effect:

Hope you can learn something new from this tutorial.
Please contact us for clipping path service for your product images for e-commerce.
I feel really glad if you give me feedback through comment below. Soon we are going to share more interesting & innovative tutorials so please keep visit our blog. That’s for now.
Have fun!
Preference: psdvault.com

Sorry, the comment form is closed at this time.