
22 Dec Create a Fashionable Surreal Effect using Photoshop

Today i want to show you a fashionable & stylish photo manipulation tutorial. In this tutorial u can learn how to blend fashion photography with custom brushes into fashionable & surreal illustration using Photoshop CS5 techniques. Let’s have a try…
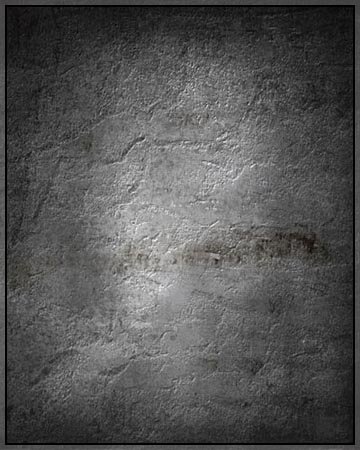
Create a new document (Ctrl+N) in Adobe photoshop CS5 with the size 1024px by 1280px (RGB color mode) at a resolution of 72 pixels/inch. Download the next texture from Texturezine.com and place it on our canvas.

Click Create new fill or adjustment layer from bottom part of the Layers panel.
![]()
And click to Curves to adjust the curve shape as shown to make a little color corrections.
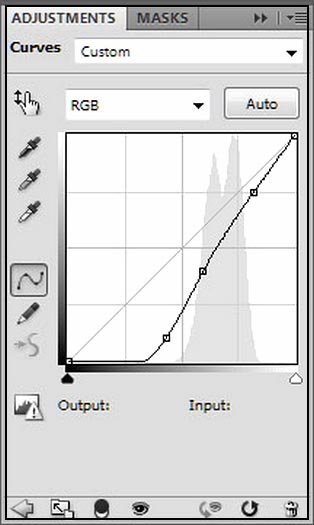
Select once again create new fill or adjustment layer from bottom part of the Layers panel and click to Hue/Saturation this time. Drag the slider to the left to decrease the Saturation of the color range. These operations will give contrast and brutality to our texture.

Next step we’ll download a set of brushes for in Adobe photoshop, named: Old_paper_brushes_by_Annette29, Seu_Davi and c130_splatter .
Select the next brush from Old_paper_brushes_by_Annette29 set:
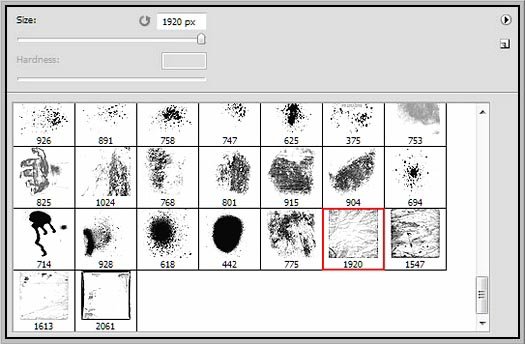
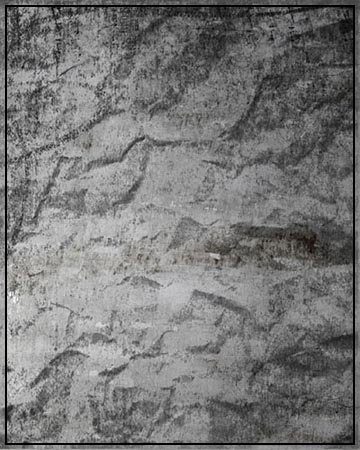
Create a new layer (Ctrl+Shift+N) and use this brush to add the next texture:Create a new layer (Ctrl+Shift+N) and use this brush to add the next texture:
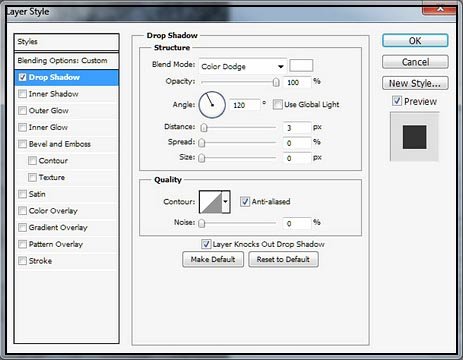
Click on Add a layer style icon from bottom part of the Layers panel and select Drop Shadow.
As a result we got a voluminous texture:

Create a new layer and select Soft Round brush of black color (set Opacity to 30% in the Options bar).

Use this brush to paint the layer edges.
Find a stock photo with a model represented on it, I used this photo from deviant art. I would like to thank the author of this photo.
Remove the background using your favorite tools like Pen Tool (P), Magic Wand Tool (W), Magnetic Lasso (L) or even a simple Filter>Extract and insert it on a new layer in our main document.

Go to Eraser Tool (E) and select Spatter brush:
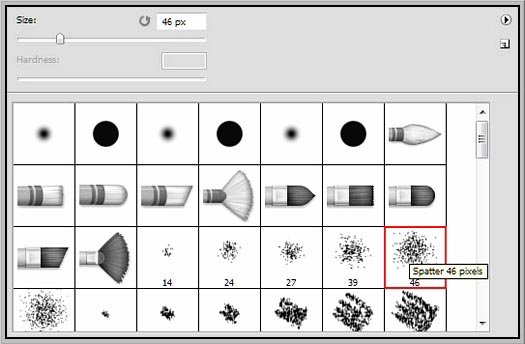
Use this brush to erase the lowest part of the girl’s figure, the same way demonstrated below:

Click Add a layer style icon from bottom part of the Layers panel to select Drop Shadow.
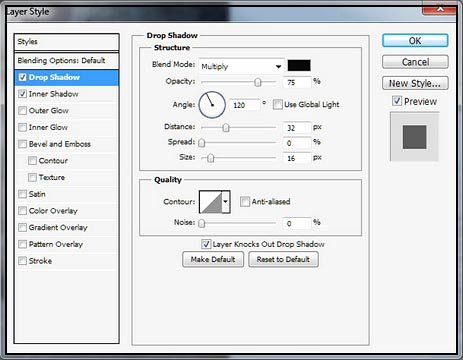
Add Inner Shadow.
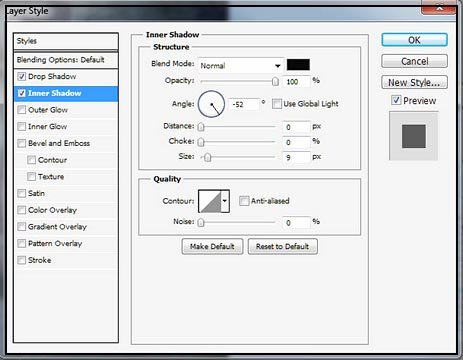
We got a volume and the shadow for the girl:

Create new layer and choose the Flat Blunt Short Stiff brush of black color from Brush Tool (B) (set Opacity to 30% in Options bar).

Let’s represent the next demonstrated brushstrokes.
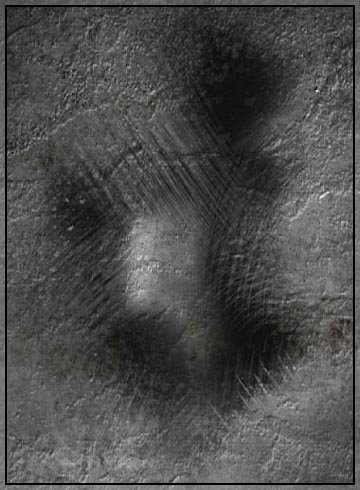
Place the layer under the girl’s one.

Click Add a layer style icon from bottom part of the Layers panel and select Drop Shadow.
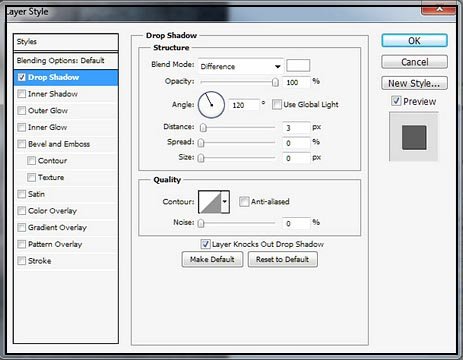
We’ve got the next result:

Select now the Soft Round brush of black color and Opacity of 50%.

Create a new layer above the girl’s layer, hold down Alt (Windows) or Option (Mac OS) and click between new created layer and girl’s layer in the Layers panel to create a clipping mask. Use the brush along the head’s contour, painting the artifacts left from the background’s removing.

Click Create new fill or adjustment layer from bottom part of the Layers panel and click to Curves to adjust the curve shape as shown to make a little color corrections.

We’ve got the next result:

Select once again create new fill or adjustment layer from bottom part of the Layers panel and select Hue/Saturation this time.

Drag the slider to the left to decrease the Saturation and the Lightness of the color range.
Select the next brush form Seu_Davi set downloaded before:
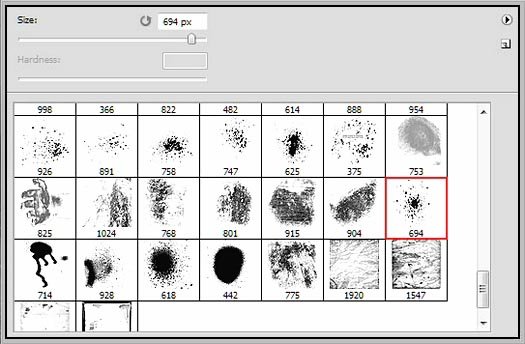
On a new layer we’ll draw several spots using black color.

Next try to combine the brushes from c130_splatter set downloaded before, to draw new spots on a new layer. The color is #282320

It’s the result we should get:

Click Add a layer style icon from bottom part of the Layers panel and select Inner Shadow.

We’ve got the effect of pressed-in texture.

Select now the Soft Round brush with Opacity of 10% and black color.

Now we have to make the next shown arbitrary brushstrokes:

Set the Blending mode to Soft Light for this layer.

Duplicate this layer (Ctrl+J) to increase the effect:

Select once again create new fill or adjustment layer from bottom part of the Layers panel and click to Curves to adjust the curve shape as shown to make a little color corrections for raising the contrast.

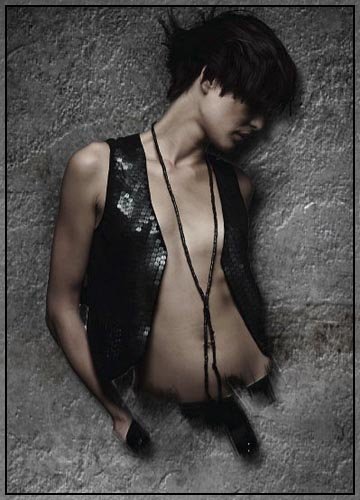
Final Product:
Finally we’ve got the next result:

Hope you love this tutorial.
I feel really glad if you give me feedback through comment below. Soon i am going to show more interesting & innovative tutorials so please keep visit our blog. That’s for now.
Have fun!
Credit:adobetutorialz.com

atal
Posted at 07:02h, 08 Junenice one