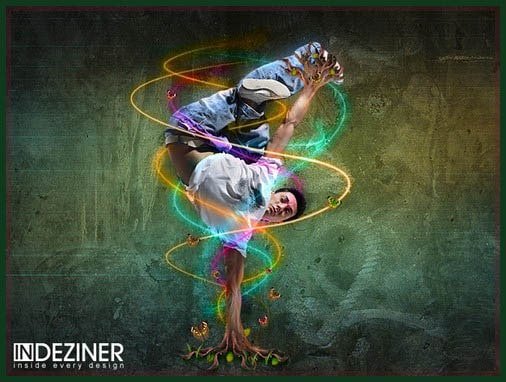
05 Jan Create A Root Dance Effect in Photoshop

Today I would like to show, how to create a root dance effect in photoshop. In this tutorial we transform a man adding roots to arms and legs and you will be able to know how to create your own fantastic illustration. So let’s have a try…
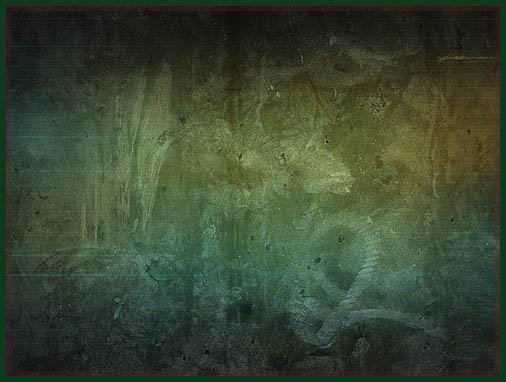
The first step is finding a right background; I prefer dark grunge backgrounds like the one below.
You can find nice backgrounds on deviantart, I took this one from Here..
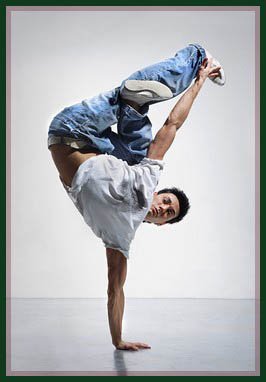
Next we are going to use a break-dancer photo for our main character.
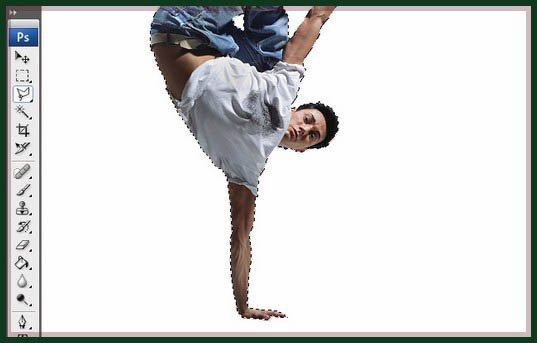
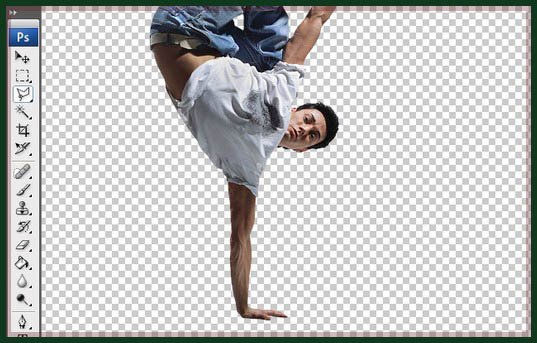
Using the Polygonal lasso Tool (L) cut-off the backround of the photo like in the pictures below.
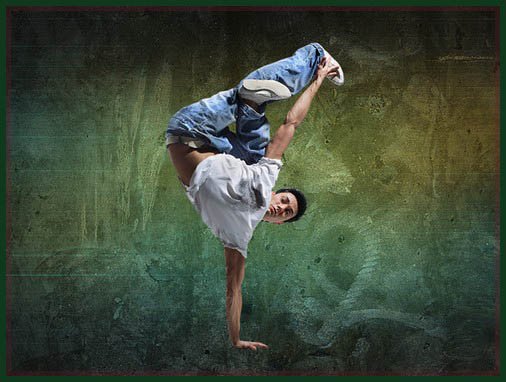
Then drag the dancer into the main background and place it on the center of the background.
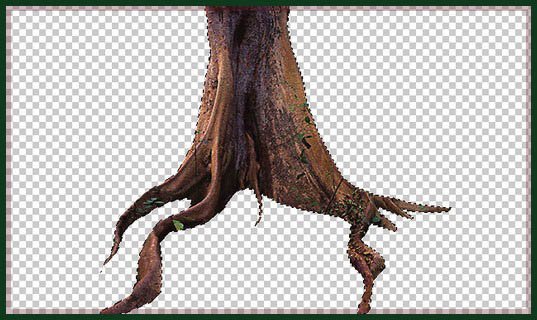
Like the title of this tutorial says, we are going to make some roots arms. Find a right picture of a tree with some nice roots like the one below. We are going to use this photo to make some roots arms for the dancer.

Using the Polygonal lasso Tool (L) cut-off a part of the roots.

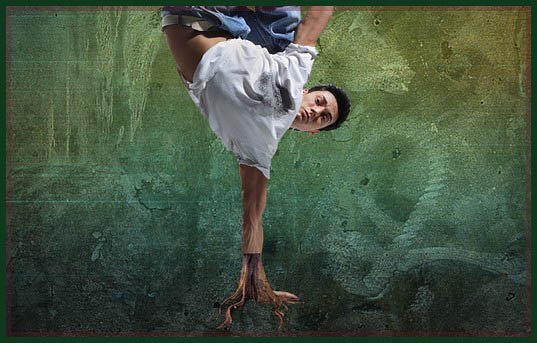
Drag the roots into the main image, and place it above the bottom hand of the dancer, just like in the picture below:
Next we want to add more complexity to the roots because it looks a little too simple. To do that cut some parts of the roots and multiply them, this way the root will have more branches.
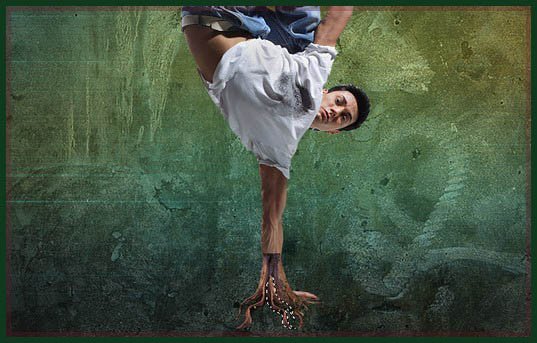
Position the new branches in different places like in the pictures below:
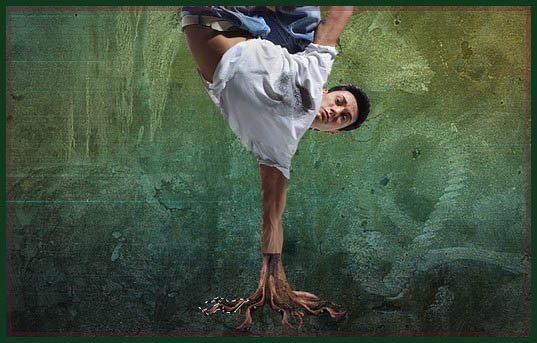
Add to the final root a Drop Shadow effect to make it look nicer.
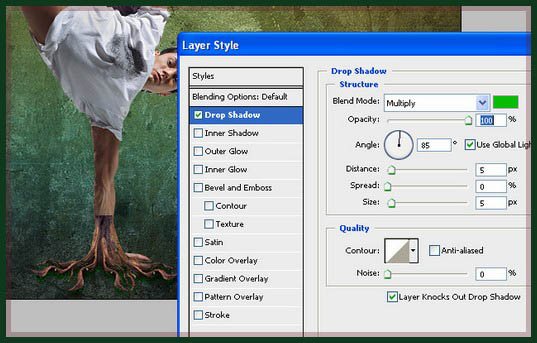
Then position the roots under the dancer layer, and then using the Eraser Tool cut the hand of the dancer to make it blend into the root image. You can change the root and dancer color using the Image -> Adjustments -> Color Balance tools.
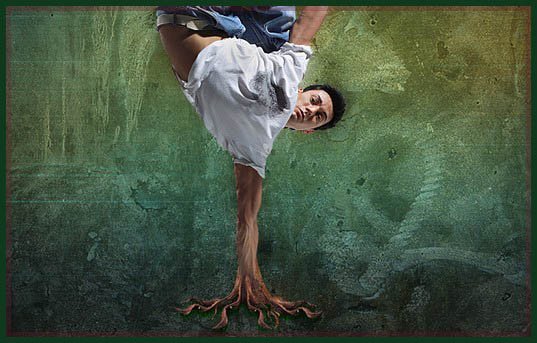
The same way you can create the other hand of the dancer. You can see the example below:
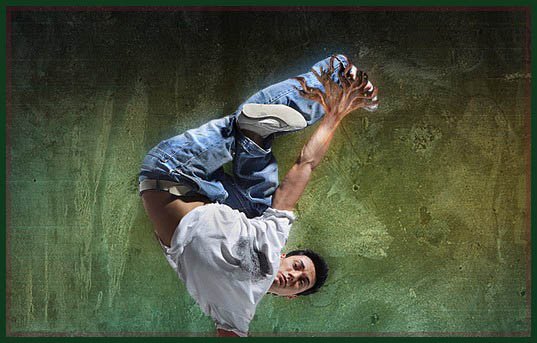
Just remember to cut some parts of the roots to match the position of the dancer foot.
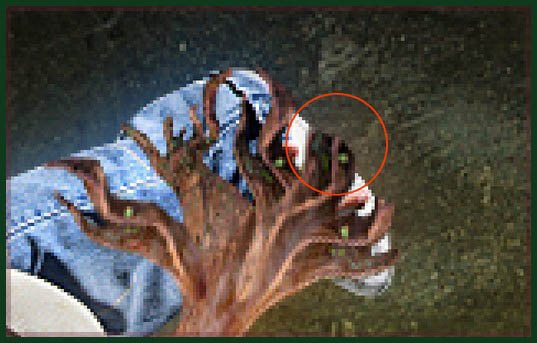
Then you can add some other nice effects to the final roots, like some leafs, or grass, to make it look more natural.
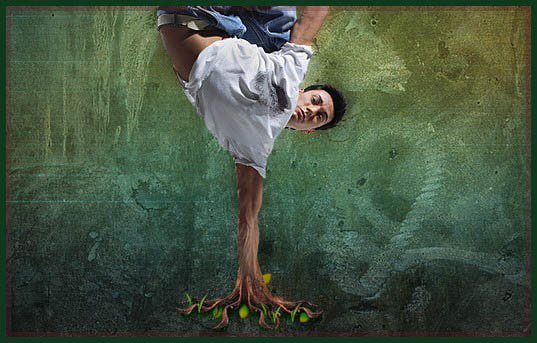
Next we want to add some surrounding lights to the dancer. To do that use the Pen Tool with the selection Path, see the picture below.
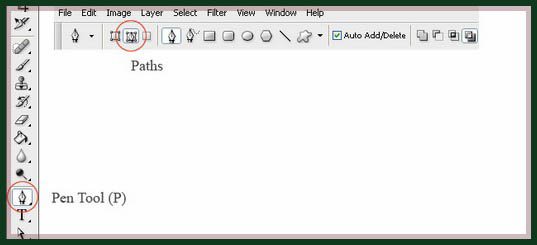
Create a line that will surround the dancer:
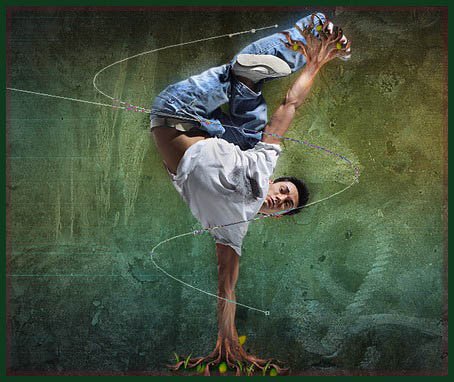
After that select the brush tool and choose the brush type that will stroke the path we just create.
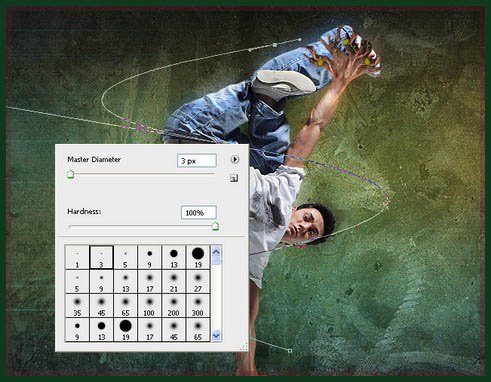
Then select the ‘Pen Tool’ again and right click the stroke. Select from the menu that appears “Stroke Path”.
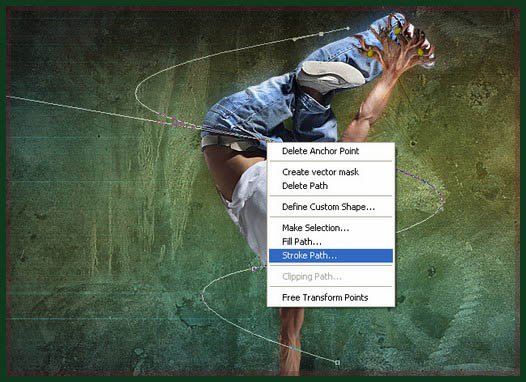
After selecting the “Stroke Path” option from the menu a new window will appear. There select the “Brush” option.
Under the select box you can see a checkbox with “Simulate Pressure” option. Select that option if you want like your stroke to be thinner at the edges. We have selected that option in our example.
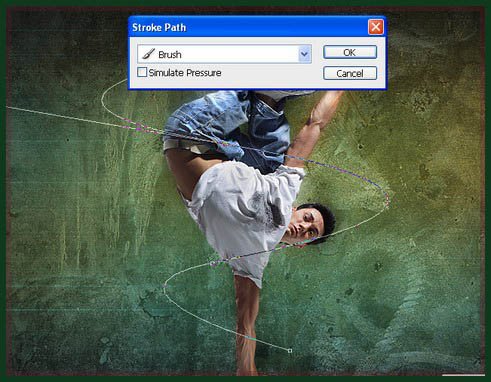
Then add some layer effects to the final strike like in the images below.
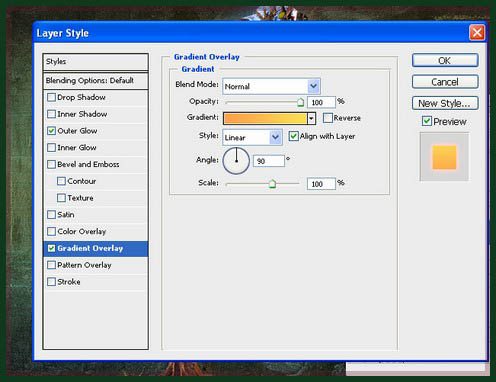
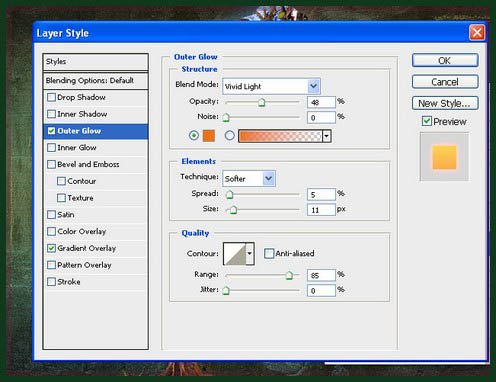
Here is the final result on the first stroke we create.
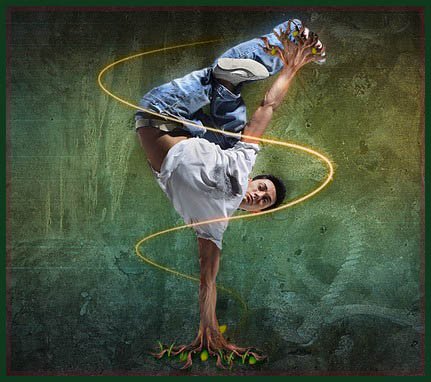
The same way add some other strokes and make them different colors and sizes.
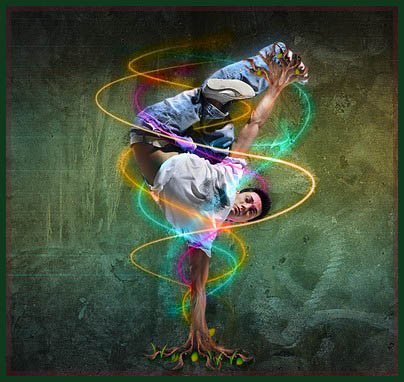
At the end you can add other graphic elements to the image, like butterflies, birds…etc
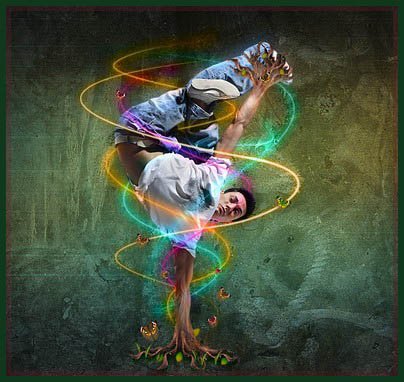
Final result:
Hope you can learn something new from this tutorial.
I feel really glad if you give me feedback through comment below. Soon we are going to share more interesting & innovative tutorials so please keep visit our blog. That’s for now.
Have fun!
Preference: indeziner.com


Free PSD Tutorials
Posted at 07:28h, 15 Februaryamazing tutorial thanks 😀