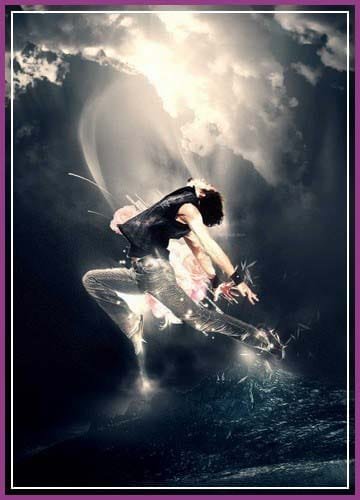
06 Dec Create A Stylish Jump Scene in Photoshop

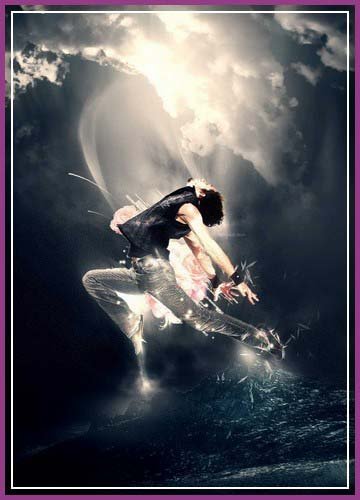
Today I would like to share a stylish & attractive dance effect tutorial. In this tutorial, I will show you the steps I took to create this fantastic Stylish Jump Scene with cloud warping in Photoshop. This is an intermediate tutorial so some steps can be tricky, but why not have a try…
Along the way, you will learn how to bring out extra details from your photo via a few simple tweaks, plus how to warp the cloud generated by Photoshop filter so to best suit your image.
You can find it is effective. So, let’s start to learn.
You will need the following stocks:
- Jumping Man
- Mountain
Step 1
Create a new document sized 1000px * 1400px, fill the background layer with black color. Create a new layer on top of the background layer called “background light”. On this layer, grab the Gradient Fill Tool and fill it with the following color and direction:

Load the Jumping Man stock into Photoshop, cut out the man using whatever selection method you prefer, and paste it on to our document (Re-size and position it to the center of the canvas), name this layer as “Model”:

Use the Erase Tool with 80% hardness (adjust the brush size accordingly) to get rid of any rough edge around the body:


On this model layer, apply the following Reduce Noise filter settings:

As you can see by applying this reduce noise filter, we can bring out some extra details for this model layer:

Add the following adjustment layers on the model layer (make sure to tick the “use previous layer as clipping mask” option:
Black and White

Curves

Levels

And you will have the following effect:

Step 2
Create a new layer named “highlights” under the model layer but above the background light layer, use a soft round brush with white color, do a few single clicks in the position as shown below:

Ideally you should separate those three light dots in 3 separate layers – the reason is that you can alter the size, opacity and the position of the light dots more freely. For instance, if you place the bottom light dot in a separate light, you can re-size it to fit the legs:
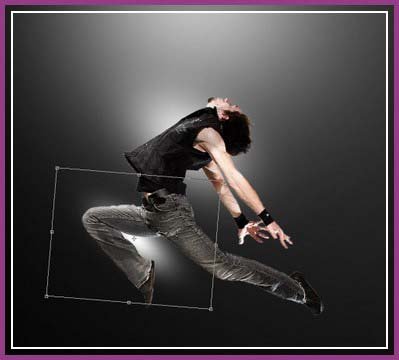
Create a new layer called “cloud overlay” on top of the model layer, grab a Lasso Tool with a 50px feather, draw a selection around the model and render some cloud in it:

Use the Warp Tool to warp the cloud as shown below:

Change the blending mode of this cloud overlay layer to “Screen” and reduce the opacity to 30%, you will have the following effect:
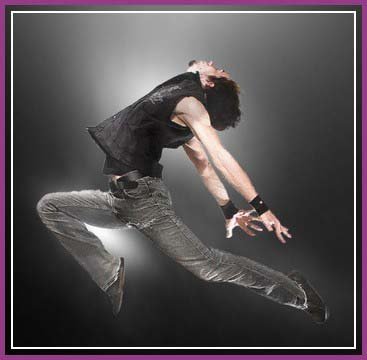
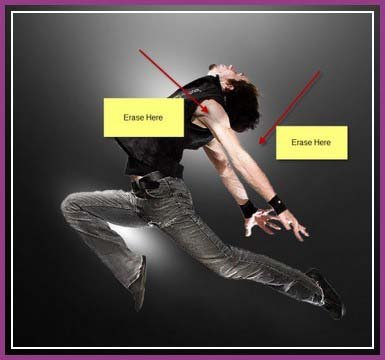
Erase the upper portion of the cloud with a big soft brashest eraser:
Step 3
Create a new layer called “cloud color dodge” on top of all previous layers and use the lasso tool with 50% feather to draw a big selection first (anywhere on the canvas) and render some cloud inside it, then resize it to a much smaller piece and position it above of the right shoe of the man.
Use the Warp Tool to warp and extend the cloud as shown below:

Change the blending mode of the layer to “Color Dodge”, and you will have the following effect:
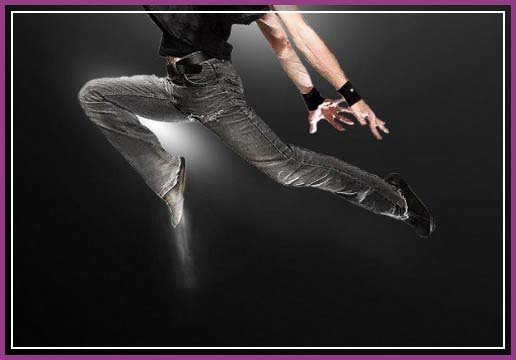
Duplicate the original “cloud overlay” layer twice and drag them to the left and right side of the canvas, change the blending mode of those two layers to “soft light”, with 70% opacity:

Duplicate the “cloud color dodge” layer a few times and scatter them around the model and adjust the opacity of each layer accordingly. You can also experiment different blending mode such as “overlay”, “hard light” and “screen” and what result that gives you:

I also duplicated the original “cloud overlay” layer once again. and drag it below the model, change the blending mode of the duplicated layer to “soft light” and a 80% opacity:
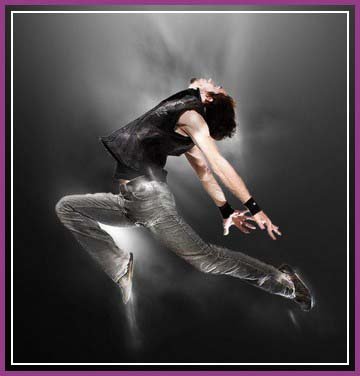
I created another layer on top of all previous layers, and use a white white brush to paint some extra lights under the model, and then resize it as shown below:
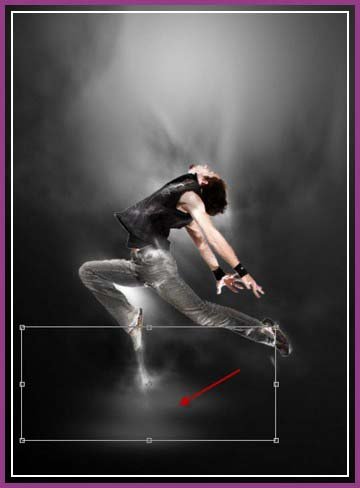
This helps me set the overall mood for the image and making easier for me to apply textures later on.
Step 4
Load the mountain texture into Photoshop, cut out the mountain portion and paste it onto our canvas. Name this layer as “Mountain” and put the layer below the “Model” layer:
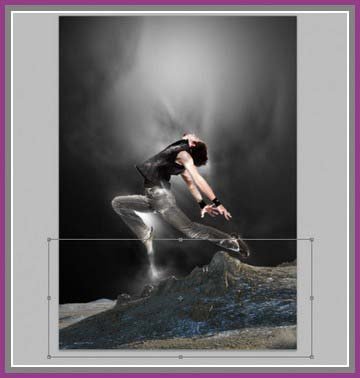
Use the eraser tool with a soft brush setting to erase the edge of the mountain so it blends into the canvas naturally:
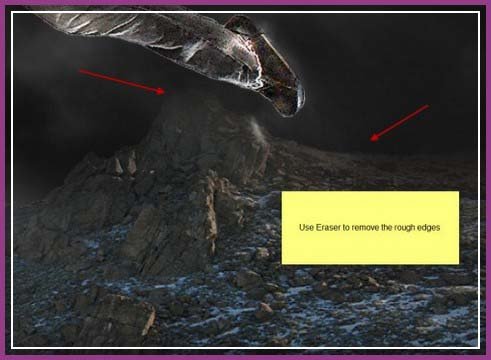
Add the following adjustment layers on the model layer (make sure to tick the “use previous layer as clipping mask” option:
Black and white
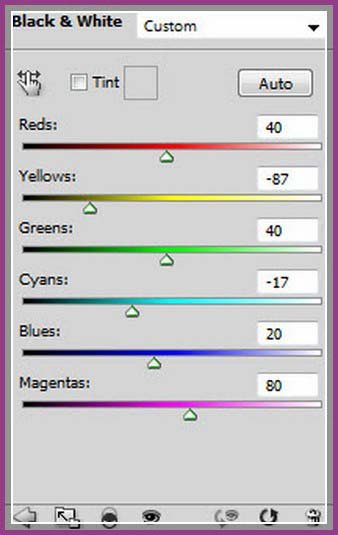
Curves

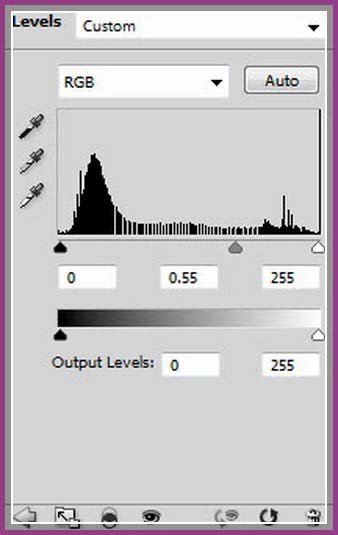
Levels
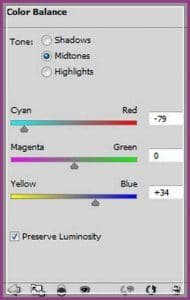
Color Balance (change blending mode to “Soft light”, opacity 70%)
And you will have the following effect so far:
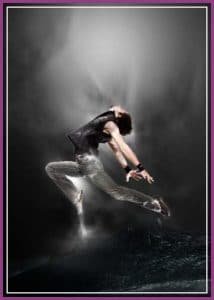
Step 5
Load the sky texture into Photoshop, select a portion of the cloud and copy and paste it onto our canvas. Name this layer as “cloud” and put it above all previous layers: (resize the layer if necessary)
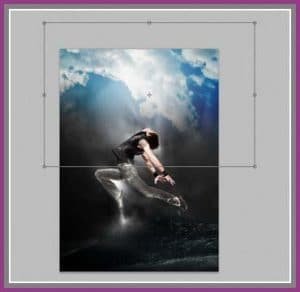
Add the following adjustment layers on the model layer (make sure to tick the “use previous layer as clipping mask” option:
Black and White
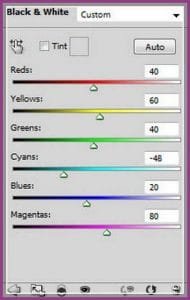
Curves
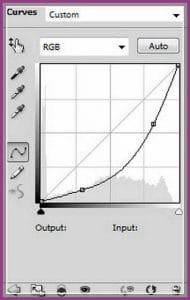
And you will have the following effect so far:
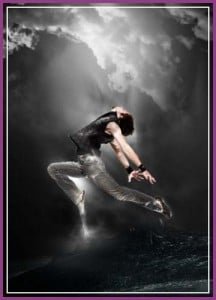
Step 6
I decided to give the image some natural elements. So I used one of my own flower photo. Regardless what stock photo you use, cut out of the flower portion and paste it onto our document. Name this layer as “flower” and make sure you put this layer below the “model” layer, re-size if necessary:
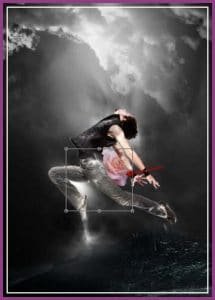
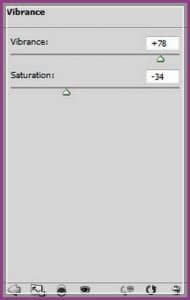
Add the following adjustment layers on the model layer (make sure to tick the “use previous layer as clipping mask” option:
Vibrance
Curves
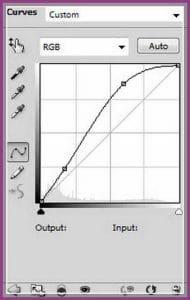
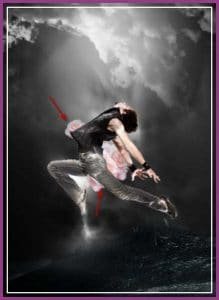
Put the flower layer along with its adjustment layer into a folder, duplicate the folder twice and position them in the location as shown below:
Step 7
Now let’s get into a bit fine-tuning of the image. Firstly, we can take the overall image and see what we could do to improve it:
- Adding some abstract patterns would spice things up.
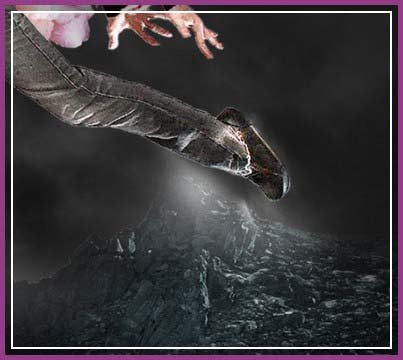
- The top of mountain needs some lights so it blends more seamlessly with the jumping man, plus adding depth to the image.
- Lack of color, probably good idea to add some adjustment layers
For the first point, we can add a new “mountain lighting” layer on top of all previous layer, grab a soft round white brush and do a single click on the mountain tip as shown below:
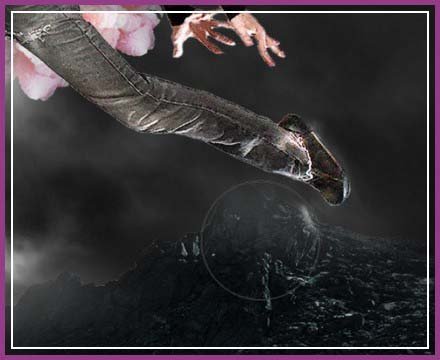
Warp this layer so the lights follow the shape of the mountain:

Change the blending mode to “overlay”, and duplicate this layer a few times to increase its contrast:
For the second point, we can easily create a new layer just above the background light layer named “abstract pattern”, download some abstract brushsets from sites such as qbrushes.net or brushesszy, and paint away!
I won’t tell you which brushsets I used here because I’d like you to use your own creativity, and not limited by this tutorial.
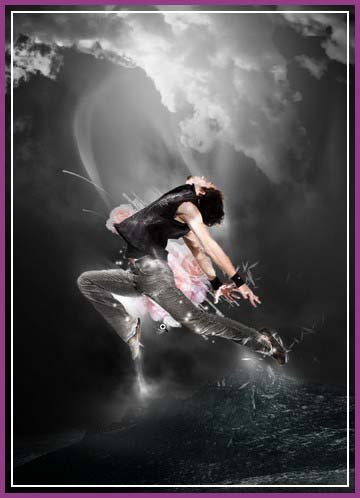
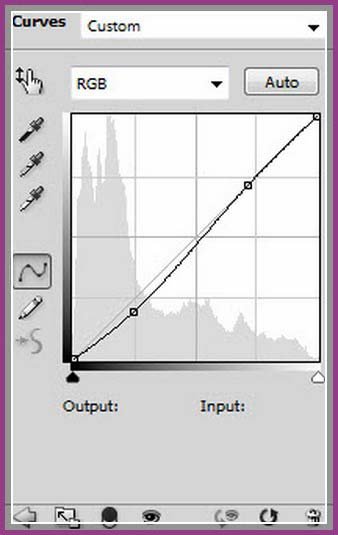
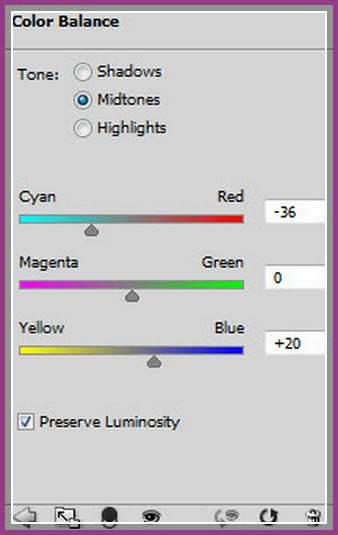
For the third point, we can add the following adjustment layers on the model layer:
Curves
Color Balance
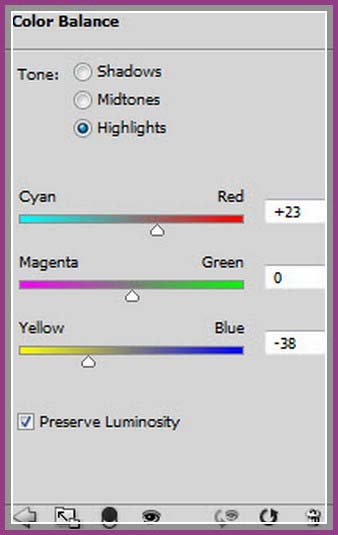
And you will have the following effect so far:
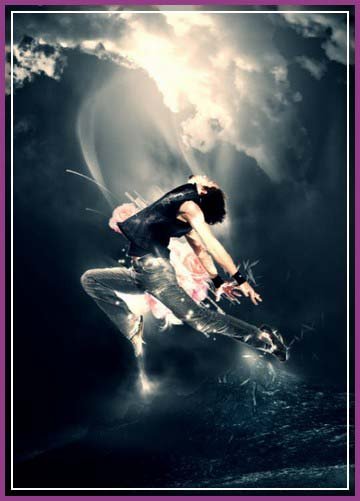
Okay that’s pretty much it! I further adjust the color balance a bit and added some motion blur effect to it.
Final Result
Here is the final result:
Hope u like this tutorial. I feel really auspicious if you give me feedback through comment below. Soon i am going to show more interesting tutorials. That’s for now. Have fun!
Thank you… 🙂
Credit: psdvault.com

Sorry, the comment form is closed at this time.