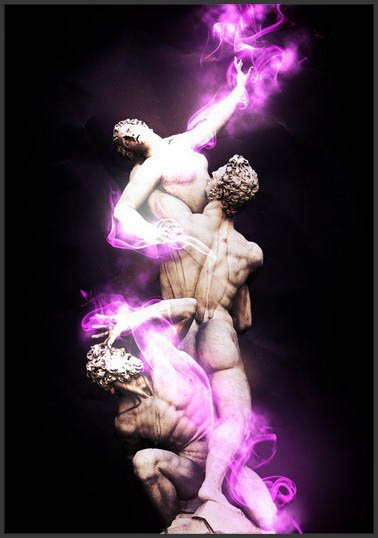
10 Sep Create an Amazing Light Effect in Photoshop

Today’s tutorial about how to create an amazing light effect in photoshop. We will play with blending modes, adjustments layers and brushes. We will use smoke brushes, but I recommend you to experiment with any kind of brush set. So, let’s have a try…
Support files:
- Paper texture
- Smoke brushes
Step 1:
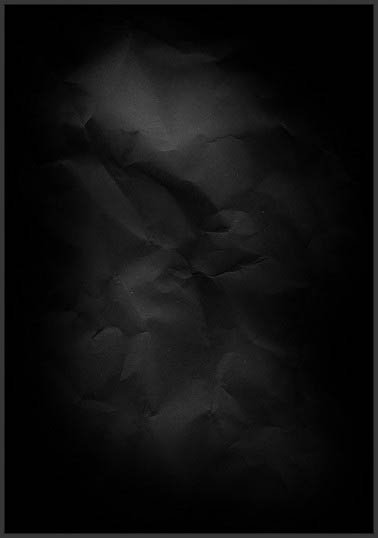
Create a new document. Select the Paint bucket tool (G) and fill the layer with black (#000000). Now paste in the paper texture and resize it (press ctrl+t to enable the transform tool). Set the layer blend mode to overlay. You should have a totally black document.

Step 2:
Create a new layer between the black one and the texture. Select a large, soft white brush (hardness 0%) and start painting over the center. Reduce the opacity of the layer untill you’re satisfied with the result.
Step 3:
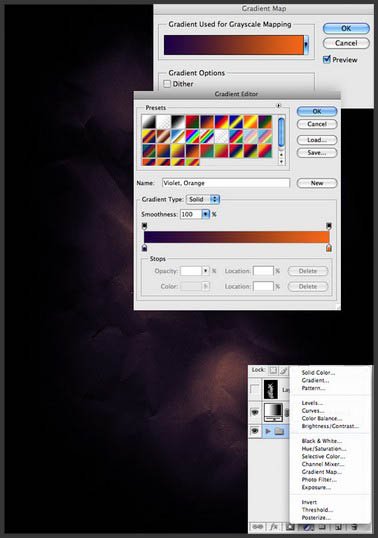
Apply a gradient map by clicking on the “create adjust layer” button below the layer window. Choose the default gradient from purple to orange. Set the layer to overlay and the opacity to 70%.
Step 4:
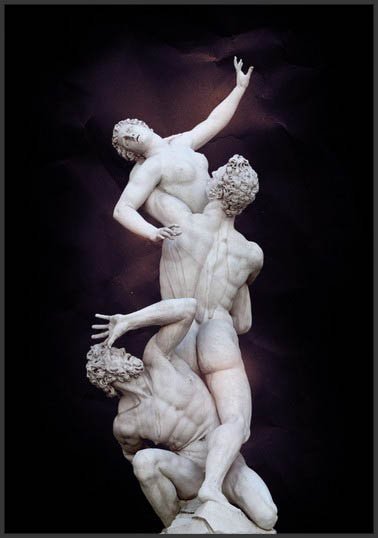
Paste in the image of someone/something. I chose this nice image of a statue, but you can pick up whatever you want.
Step 5:
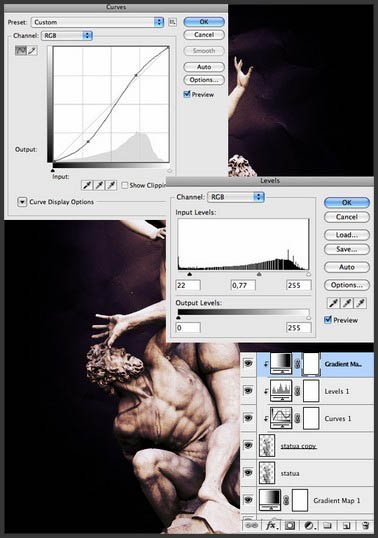
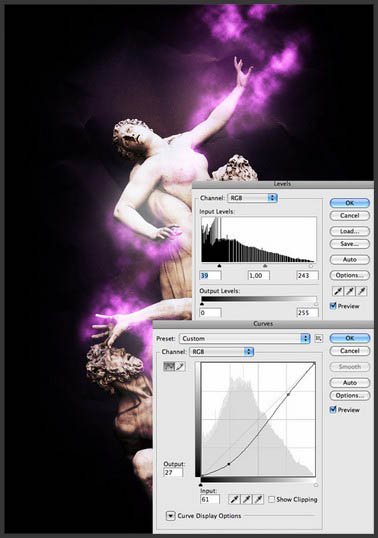
Use curves (ctrl+M) and levels (ctrl+L) to increase the contrast of the image (in this case the statue, but I always increse the contrast of the images I use to make them more vivid). Repeat step 3 and create an identical gradient map layer. This time we want to affect only the statue, not the background; so select the gradient map layer and go to Layer>Create Clipping Mask.
Step 6:
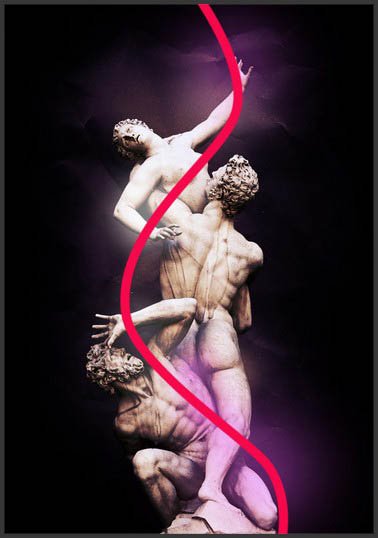
Create a new layer, select white or a light purple as foreground color, and start painting with a large soft brush. The aim is to create a background light effect. Imagine that you have to create a route for the light effect. The curve in the screenshot below is the direction we want to give to the effect. I suggest you to create a single layer for each click with your brush, so that you’ll have more control and also you can use different colors. Remember to reduce the opacity of these layers from 10% to 30%.
Step 7:
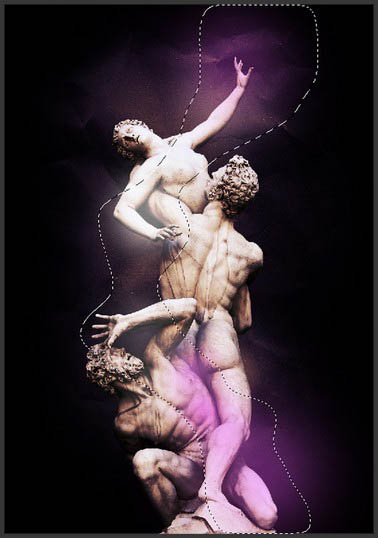
Grab the Lasso tool (L), set feather to 30px, and make a selection as shown below:
Step 8:
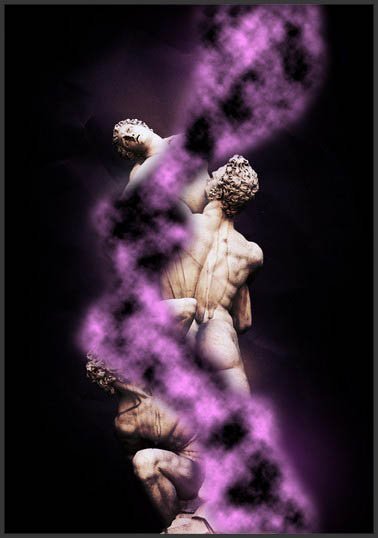
Set purple as foreground color (#fb97fb) and black as background. Create a new layer and go to Filter>Render>Clouds. Press ctrl+F to increase the contrast of the clouds. Press ctrl+D to deselect.
Step 9:
We want to eliminate the black parts of the clouds, so set the layer to screen. Now apply curves (ctrl+M) and levels (ctrl+L) to increase the contrast and use the erase tool to remove unwanted clouds. You can also duplicate the layer if you want a stronger effect.
Step 10:
Create a new group and set the layer blend mode to color dodge. Create a new layer inside the group. Choose a white soft brush and start painting over the part of the image you want to enhance. As in step 6, use different layers, and reduce the opacity of anyone around 25%.

Step 11:
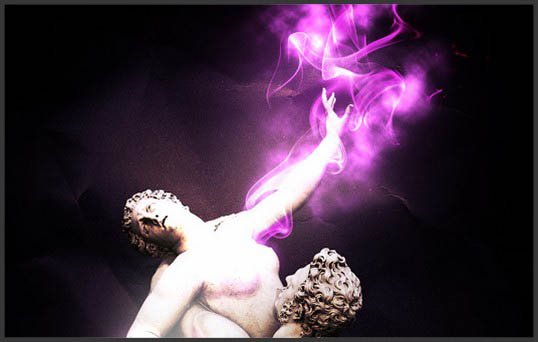
Create a new layer, title it “light smoke” and switch the layer blend mode to color dodge. Set the foregorund color to a nice purple (#f053f0). Now select one of the smoke brushes and paint. Duplicate this layer 2/3 times: you have a nice light effect.
Step 12:
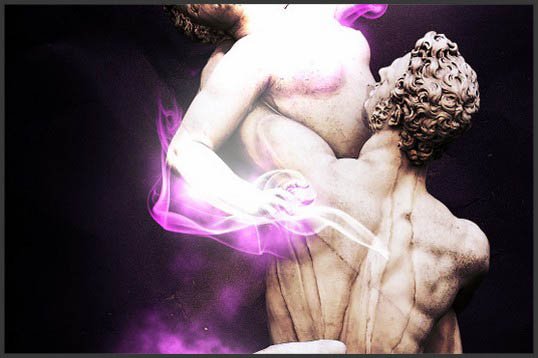
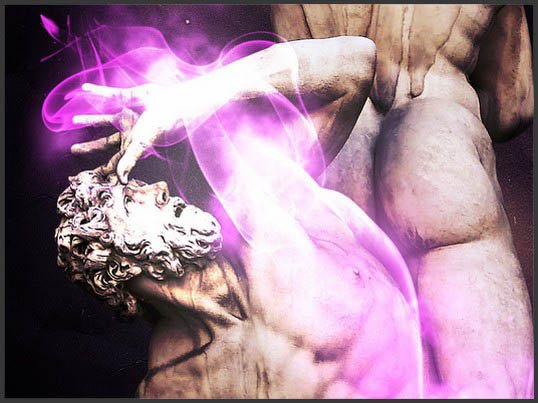
Repeat step 11 in order to obtain other light effects. You can use the same technique with other brushes.
Final Result:
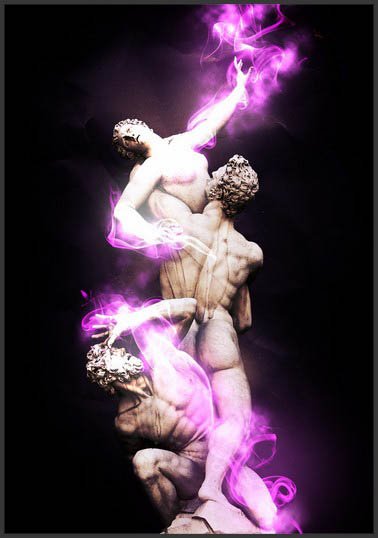
Hope you can learn something new from this tutorial.
I feel really glad if you give me feedback through comment below. Soon i am going to show more interesting & innovative tutorials so please keep visit our blog. That’s for now.
Have fun!
Thank you… 🙂
Reference: wegraphics

Sorry, the comment form is closed at this time.