
30 Sep Create Antique Look of Your Photograph

Today I want to show you how to create an antique look of a photograph through Photoshop tutorial. This simple tutorial is an alternative method for making a photograph look aged. It is suitable for Photoshop beginners.
Let us start off with a normal full-color photograph. I am using the “Young Teenage Girl” from Shutter Stock.
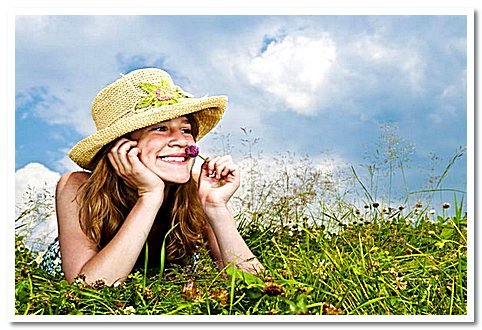
Select the photo layer, go to Filter > Noise > Dust and Scratches. Set the Radius to 2 and Threshold 0.
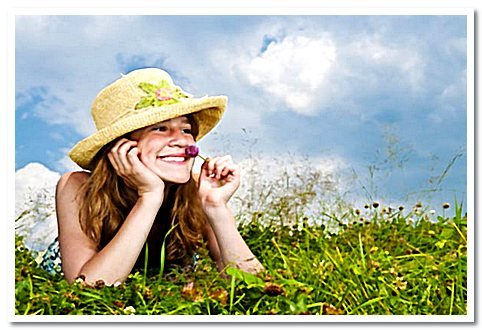
Duplicate the photo layer. Select duplicated photo layer, go to Filter > Blur > Gaussian Blur. Set Radius to 4.
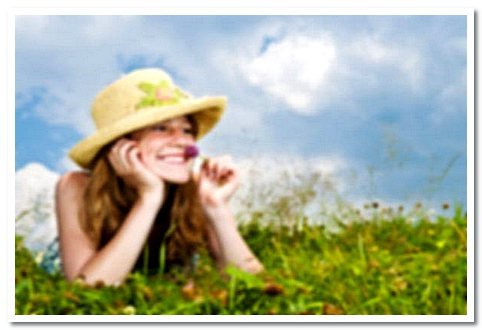
Make a Layer Mask on the duplicated layer. On the mask, create a Radial Gradient as shown in the screenshot below.
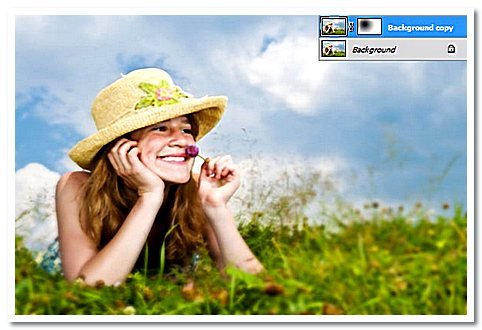
Download “Vintage Background” from Shutter Stock. Resize it to cover the photograph nicely. Go to Image > Adjustments > Desiderate.
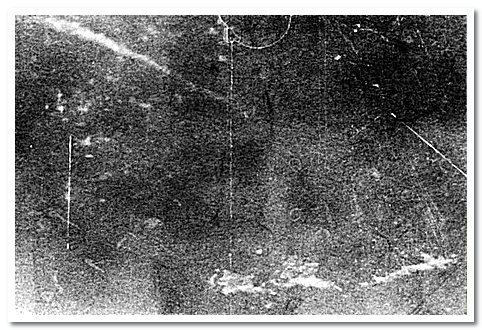
Set the Blend Mode of vintage background to Soft Light.
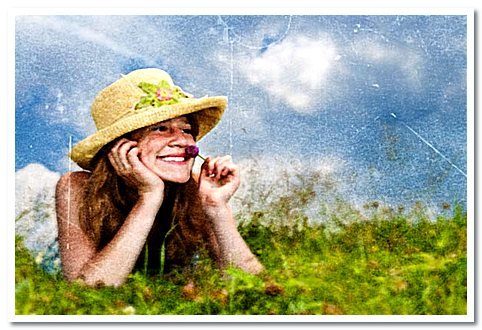
Download “Grunge Background” from Shutter Stock. Resize it to cover the photograph nicely. Go to Image > Adjustments > Desaturate.
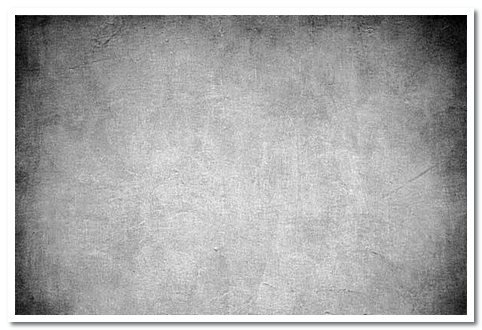
Set the Blend Mode of grunge background to multiply. Go to Image > Adjustments > Brightness and Contrast. Set the Brightness to 50.
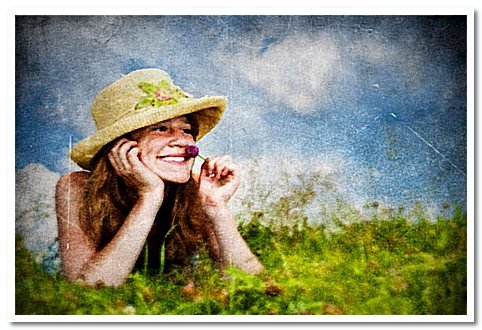
Create a Levels Adjustment Layer. Set the values to 15, 1.48, and 255.
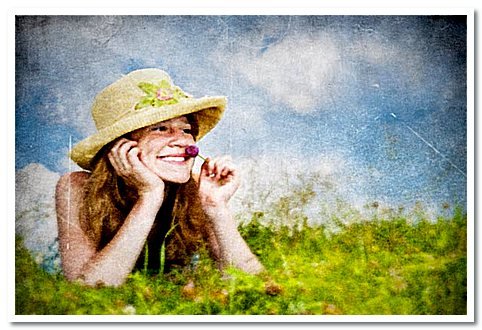
Now create a Hue/Saturation Adjustment Layer. Check on Colorize. Set the Hue to 38, Saturation to 22 and Lightness to 0. And that is all! I hope you find this tutorial very useful for your future works. Thank you…
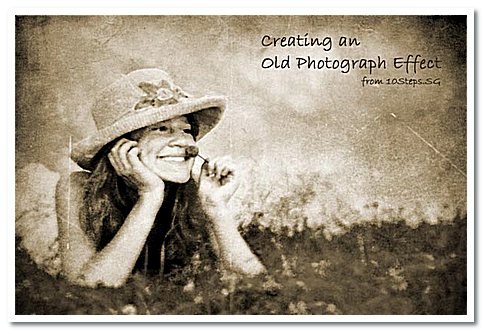 credit: 10steps.sg

Sorry, the comment form is closed at this time.