
01 Oct Create Your Photos into Mosaic using Photoshop

By this tutorial you can learn how to take a single or collection of photos and give them a beautiful mosaic effect. Using this technique you can make beautiful group photos.

Step 1:
Begin by selecting a single photograph or creating a collage using the layer mask blending method. If you are unfamiliar with this you can read how to easily blend 2 images together. Here is a quick arrangement of photos I found. Notice how the different picture edges aren’t aligned or clean, this is perfectly fine.

Step 2:
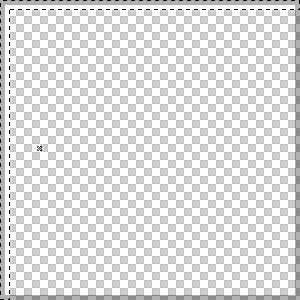
Minimize that document, and create a new document 60×60 pixel. Select transparent background. This will be your mosaic pattern. Next, zoom in and take out your pencil brush tool (B) and select a size of 1 or 2 pixels. Draw in a vertical line 2 pixels wide along the left side of the box and a horizontal 2 pixel tall line along the top of the box. You can hold down shift while doing this to make the drawing line constrain to a linear path. You can use any color (we chose white).
Step 3:
Go to edit>define pattern and give it a descriptive name. You can now close this without saving. If you think you may want to change the color or other aspects later down the road you can save it.

Step 4:
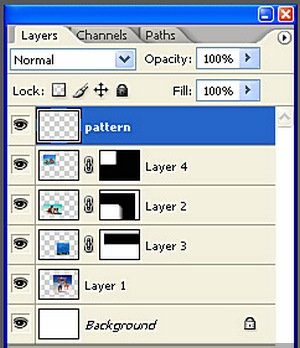
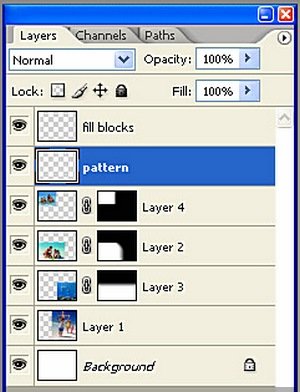
Now go back to your original document and create a new layer (CTRL+SHIFT+N) on top of every other layer like shown. You can call it ‘pattern’. Take out your paint bucket tool (G) and select ‘pattern’ from the fill mode drop box on the top settings bar. Now click (paint in) anywhere in your document.
Step 5:
Here is what you should have.

Step 6:
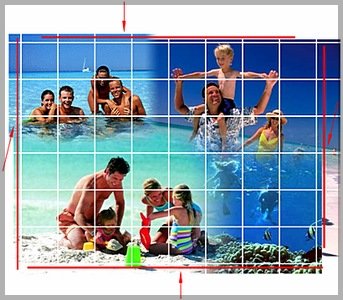
Now you can take out the move tool (V) and move around the pattern until you have an imaginary white ‘border’ around everything that you will crop. You can see I moved the pattern so that there is a ‘border’ (outlined by the red) which I can crop. This will give a solid white border when you view the finished product.
Step 7:
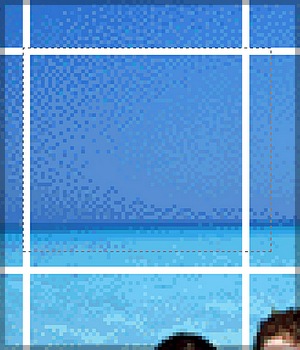
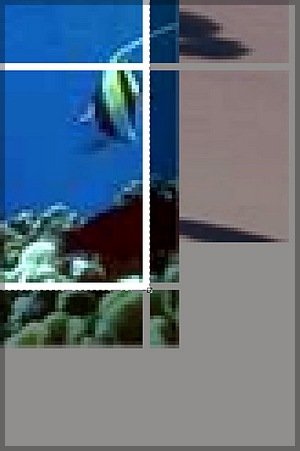
Zoom in to the upper most left corner of your ‘border’ and begin to crop it where I started. Draw from upper left to bottom right.
Step 8:
Like so.
Step 9:
Once you crop it, here is what you should have.

Step 10:
Next create a new layer called ‘fill blocks’ on top of everything.
Step 11:
Take out your magic wand tool (W). Use these settings.
![]()
Step 12:
With your pattern layer active use your magic wand tool to select boxes you would like to be given the ‘mosaic’ effect. Make sure you hold down your shift key so you can select multiple box selections one after another. To subtract a selection, right click that selection and choose ’subtract from selection’.

Step 13:
Now with the selections still active, select the ‘fill blocks’ layer and fill it with white. This is what you should have.

Step 14:
Next you can lower the ‘fill blocks’ layer opacity to around 50% or so. Give it a value that you see fit.

That’s all. This tutorial is simple & contain few steps. I hope you like it.
Thank you…
Final Product:

Credit: niftytutorials.com

Sorry, the comment form is closed at this time.