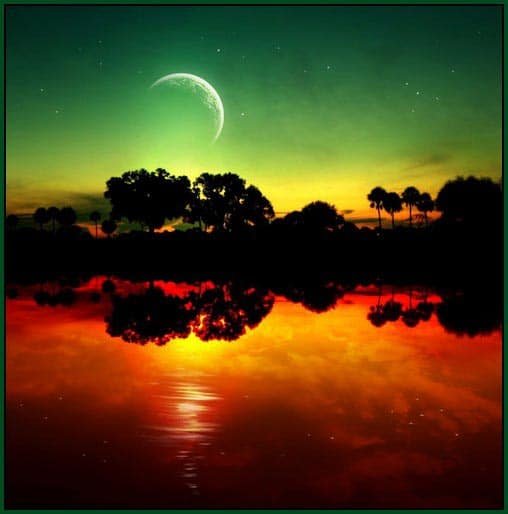
08 May Creating Magical Night Effect in Photoshop

Today’s tutorial we will discuss how to create a magical night effect in photoshop. In this tutorial we are going to show you how to transform a simple photo into magical effect using photoshop techniques and you will also learn how to adjust photo with water reflection. So why not have a try…
Recourses:
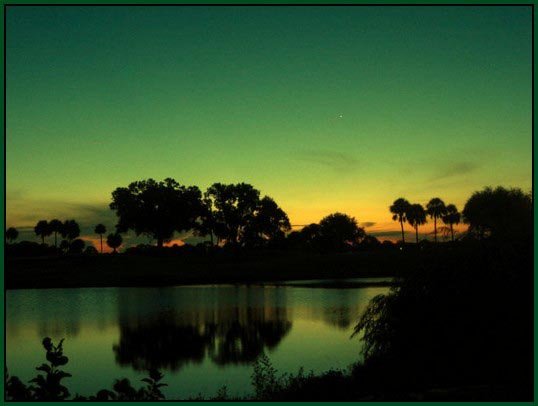
- Background
- Sky
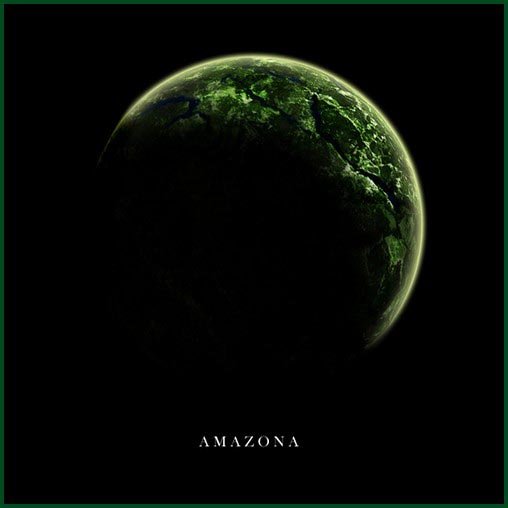
- Planet
Step 1:
We begin with a basis of our collage – the background. I have found a photo of the cloudless sky of emerald color. It ideally suits: we only have to cut out a superfluous bottom part. We do it, using Crop Tool.
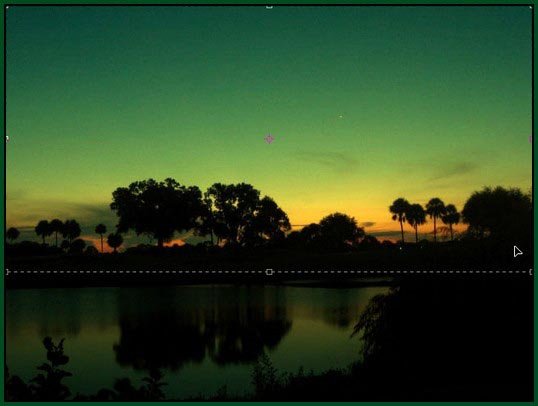
Step 2:
We will do a reflection; therefore we need to increase the size of the canvas. We open menu Image – Canvas Size, and we increase the factor “height” twice. When the sheet will increase in height, we will transfer a background upward.
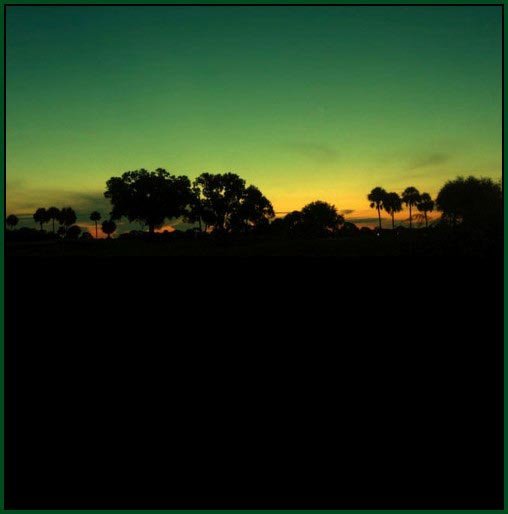
Step 3:
We do the duplicate of a layer and reflect it across. We have to get a symmetric reflection of a picture.
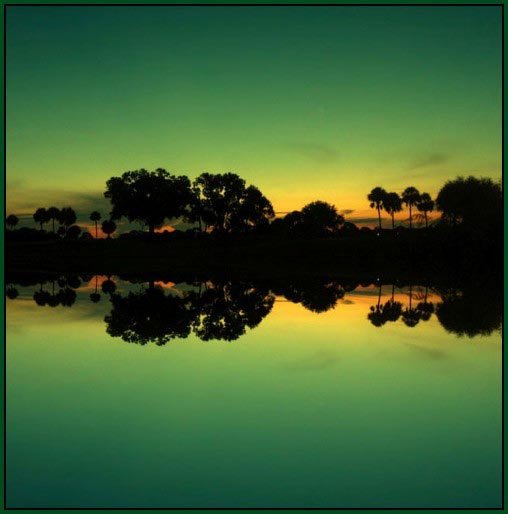
Step 4:
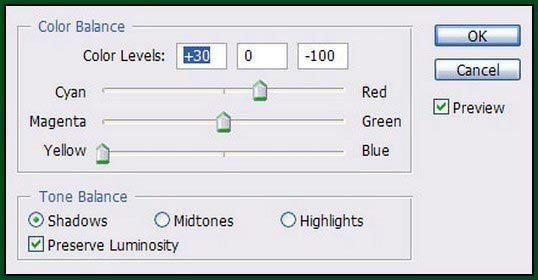
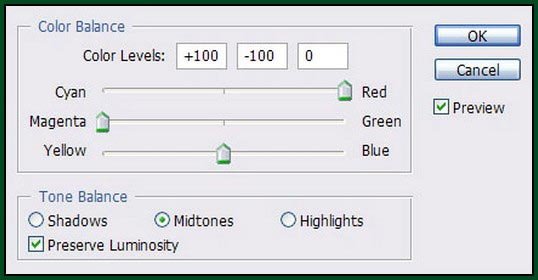
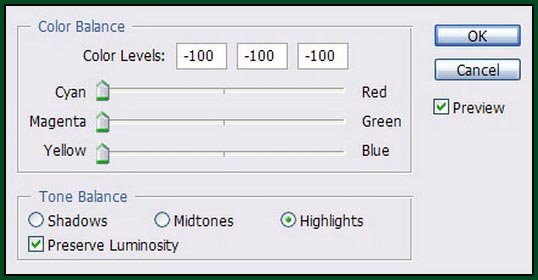
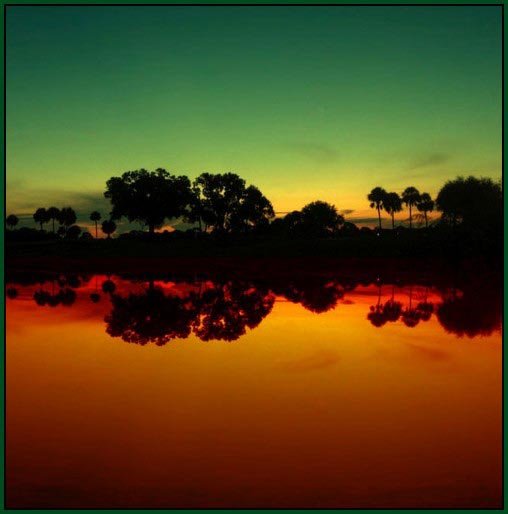
In menu Image – Adjustments – Color Balance we will change adjustments, as it is shown on pictures. Reflection will get bright orange color.
Step 5:
We Merge Down the layers. Then we choose Burn Tool, and we black out the area where pictures incorporate.
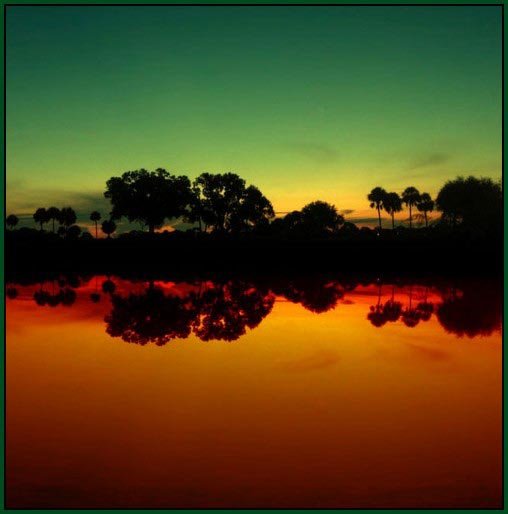
Step 6:
In menu Image – Adjustments – Brightness/Contrasts we put adjustments as on the picture.
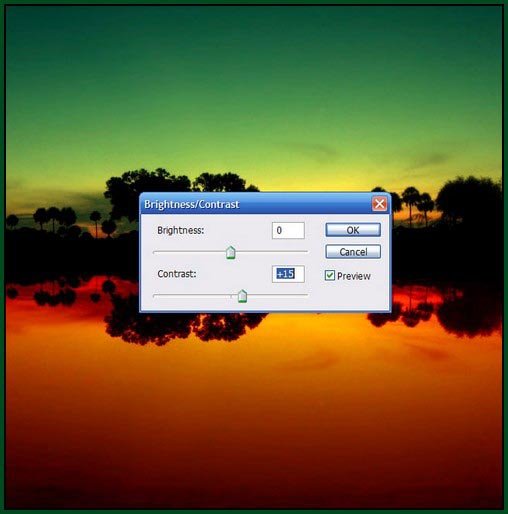
Step 7:
Let’s improve quality of the sky which was impaired a little after correction of color and contrast. We do a copy of a layer with the background, and we work with filter Blur – Gaussian Blur.
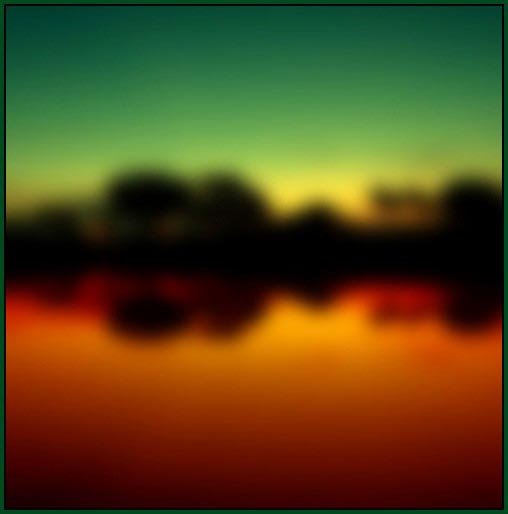
Step 8:
Let’s lower Opacity of the layer up to 50 %.
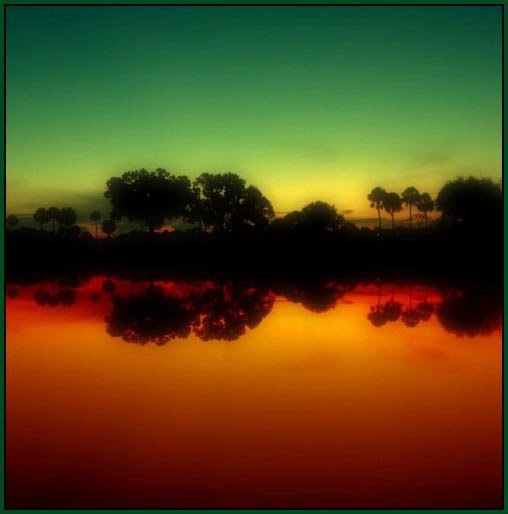
Step 9:
Using Eraser tool, we will erase the layer in the places which cover trees, to return to them clearness. As a result we should receive the same picture, only with the better sky.
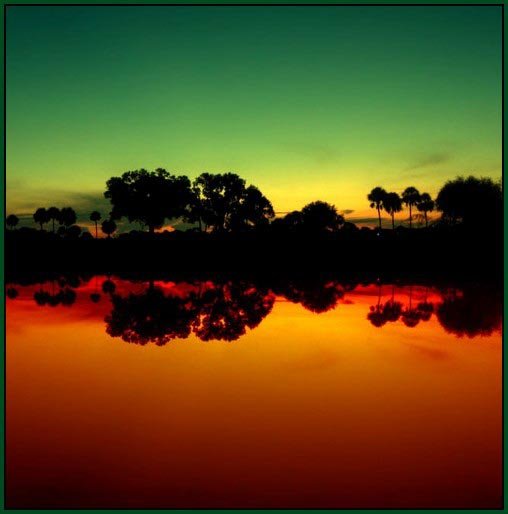
Step 10:
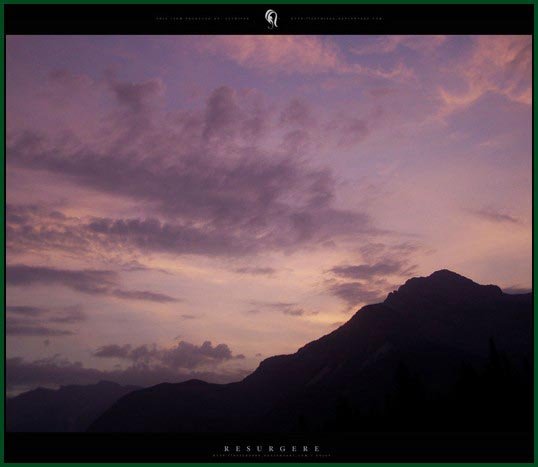
Now we will work with a planet. We will copy a picture and insert it on a new layer. We will change the size on necessary and after this place it above trees, at the left.
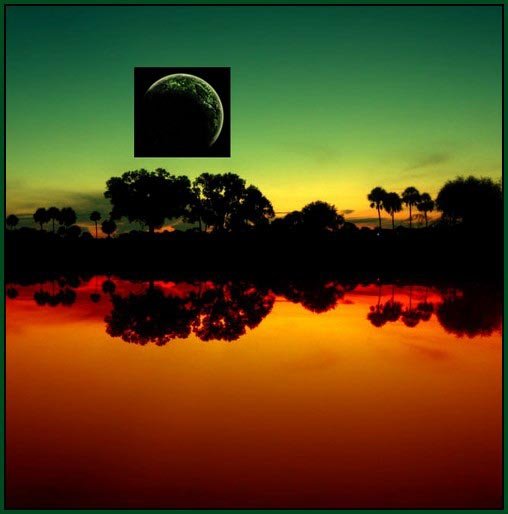
Step 11:
In adjustments of a layer we have to put Screen that the background of this planet became transparent.
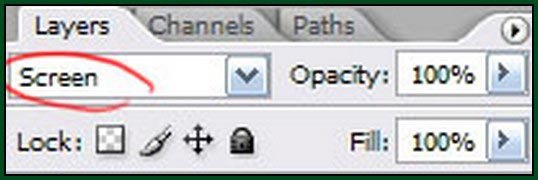
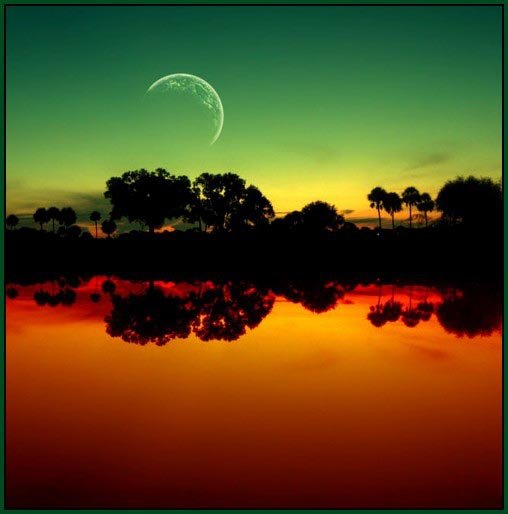
Step 12:
We use Dodge Tool (Range – Highlights, Exposure – 90-100 %) to clarify that part of the planet on which light falls. It will make its brighter and attractive.
Step 13:
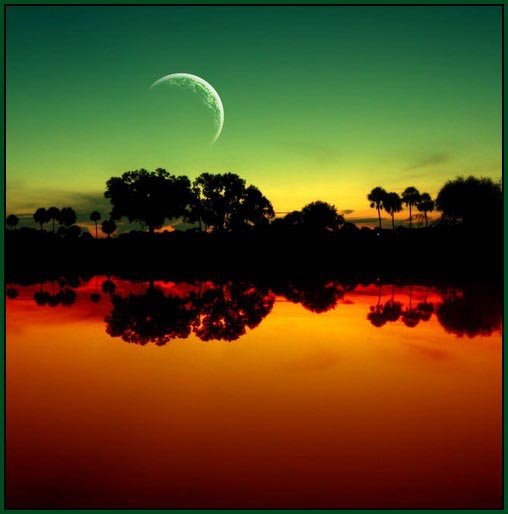
We choose a usual Brush and, changing the size from 3 up to 1 pixel, we draw stars. Do not overdo. Too many stars will be looked not so.
Step 14:
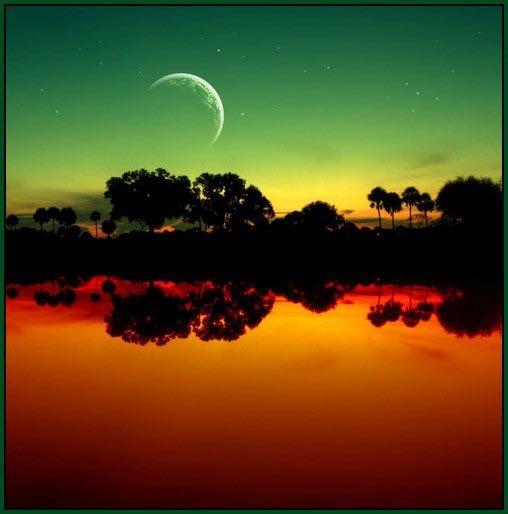
Let’s make the duplicate of a layer, we will low Opacity up to 50 % and we will apply to it filter Gaussian Blur. It will create an effect of an easy luminescence of stars and planet.
Step 15:
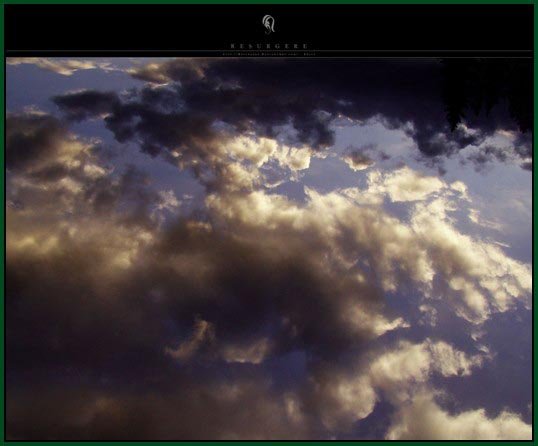
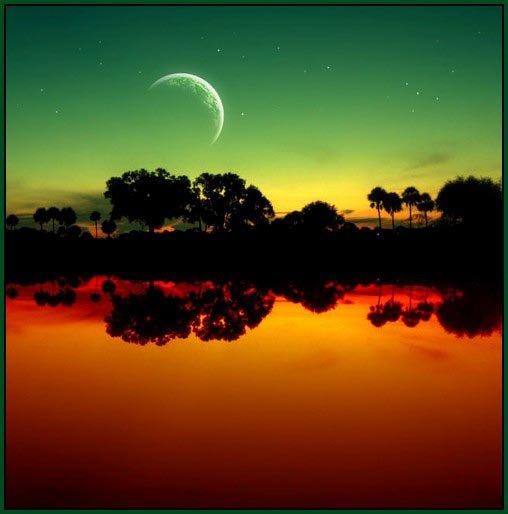
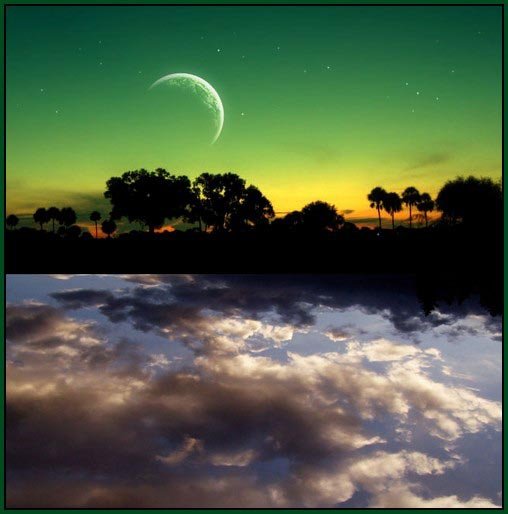
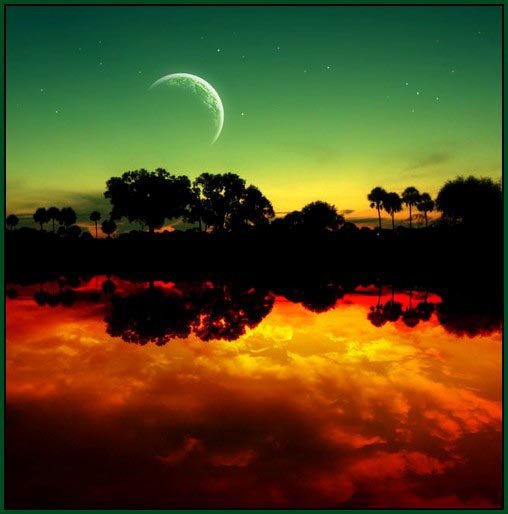
Now, when the top part is ready, it is time to work with clouds. For this purpose we’ll take a suitable texture of clouds also we will insert it on a new layer. We change the size and an arrangement so, that it exactly would cover the bottom part of the collage.
Step 16:
We change layer style on Overlay.

Step 17:
We make the same actions with the top part. But this time we take other texture, less cloudy. It will create an interesting effect.
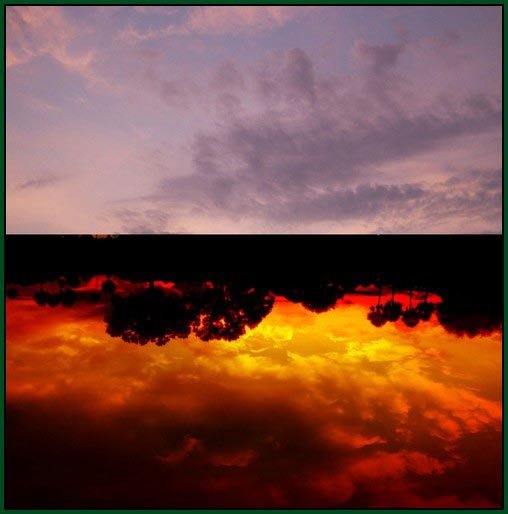
Step 18:
Mode of this layer we’ll change to Overlay too.

Step 19:
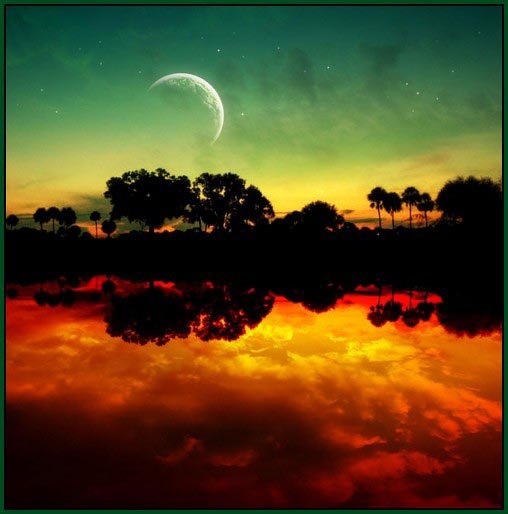
Let’s change Fill of both layers to 50 %. So textures will be entered more gently.
Step 20:
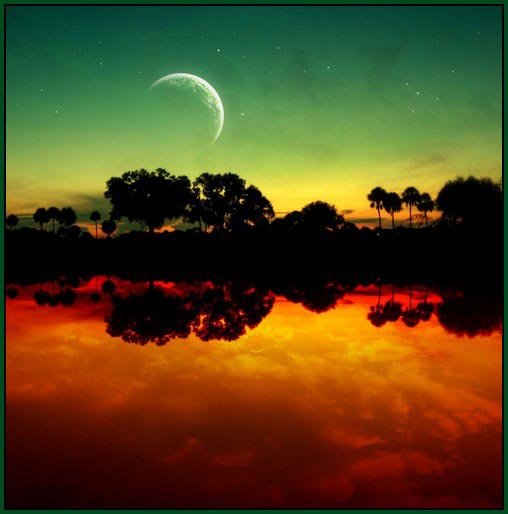
Now we change Adjustments of Brightness (-10) and Contrast (+10).
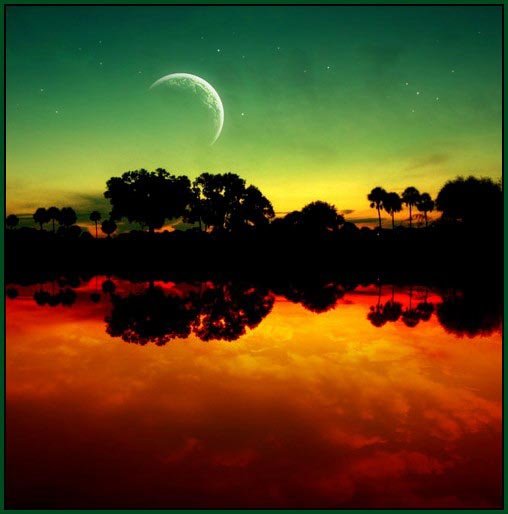
Step 21:
It will be quite good to make highlights of the planet on the bottom reflection, as if it will be on water. For this purpose we will copy our heavenly body and we will reflect it on a vertical.
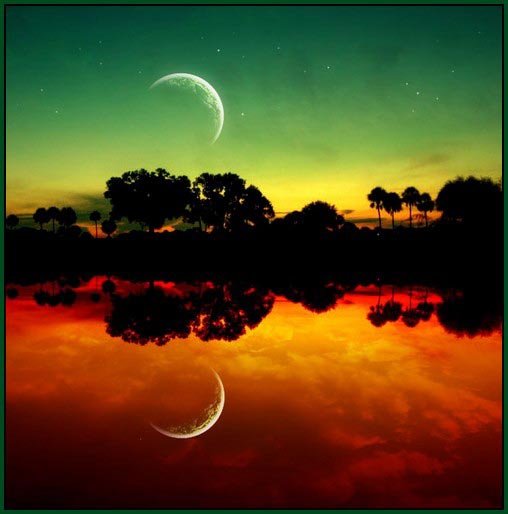
Step 22:
By means of Smudge Tool we will spread it, as on picture
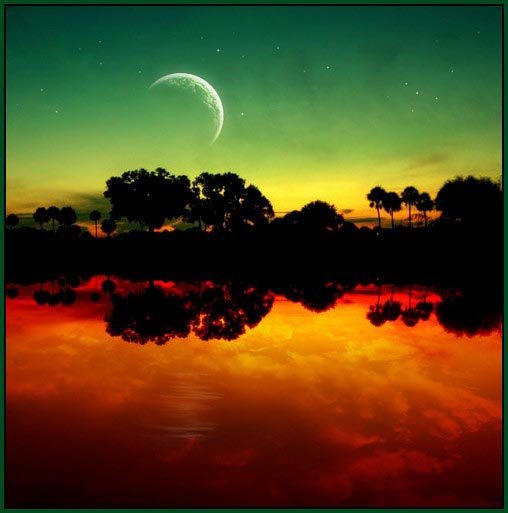
Step 23:
After spreading it became much dimmer. We will correct it by means of Dodge Tool (Highlights, 100 %).
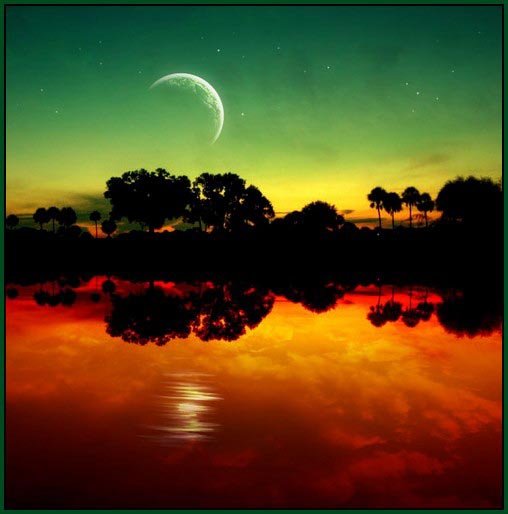
Step 24:
By means of a simple brush with Opacity of 70 %, we will add some patches of reflected light.
Step 25:
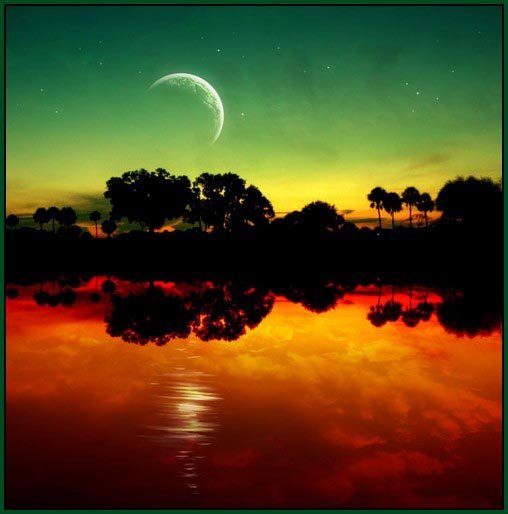
Well, if the planet is reflected, so and stars should be reflected. We will copy them and reflect on a vertical.
Step 26:
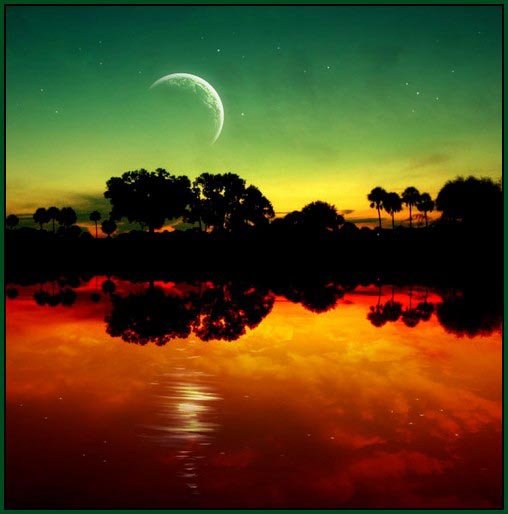
Last touch. We choose Dodge tool (Highlights, 50 %), and we clarify background in areas where the planet and its reflection is located.
Step 27:
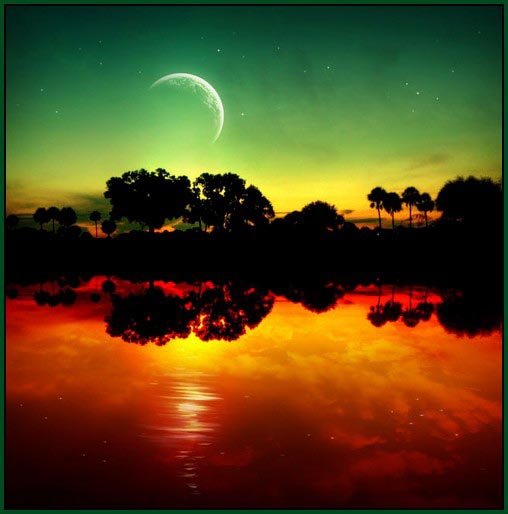
By means of Burn Tool (Midtones, 50 %) we black out the edges of our canvas.
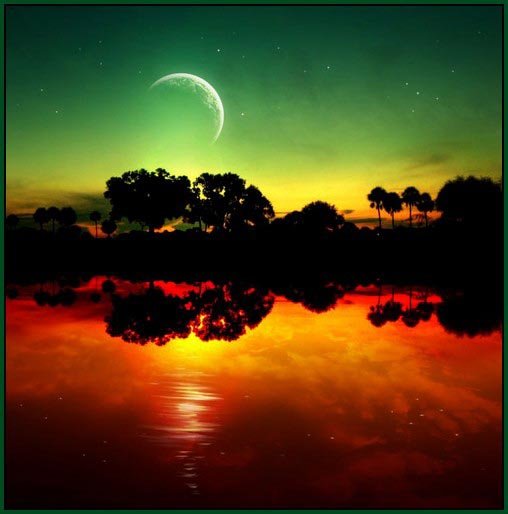
Final Result:
Hope you love this tutorial and learn some thing new technique from this tutorial.
I feel really glad if you give me feedback through comment below. Soon i am going to show more interesting & innovative tutorials so please keep visit our blog. That’s for now.
Have fun!
Reference: psdtop


Senthil Mudaliar
Posted at 15:02h, 02 MayVERY NICE !
THANK YOU FOR TUTORIAL