04 Jan Design A Magical Text Effect in Photoshop
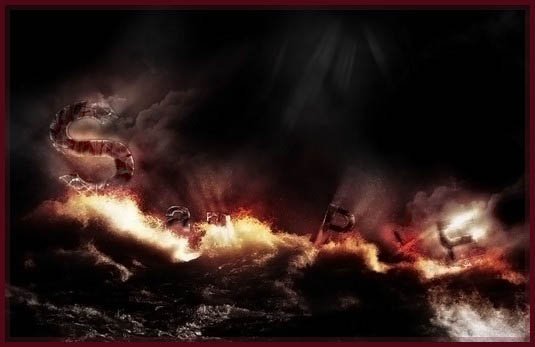
Today’s tutorial i will demonstrate how to design a magical text effect in Photoshop. This is an intermediary level tutorial where we use some steps about text, smoke, ocean and texture. From this tutorial we can learn some very useful techniques. So let’s have a try…
To complete this tutorial, you will need the following stocks:
- Ocean image
Step 1
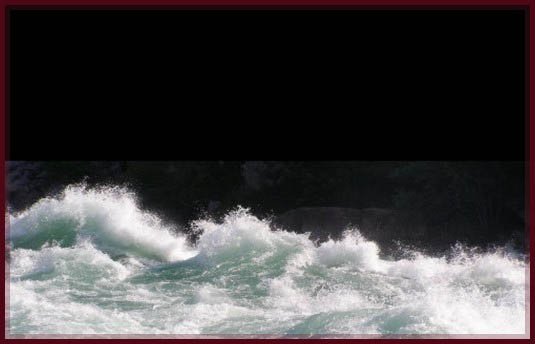
Create a new document sized 1200px * 770px, fill the background with black color. Load the “ocean” stock image into Photoshop, cut out the top wave portion of it and paste it onto our document. Name this layer as “ocean”:
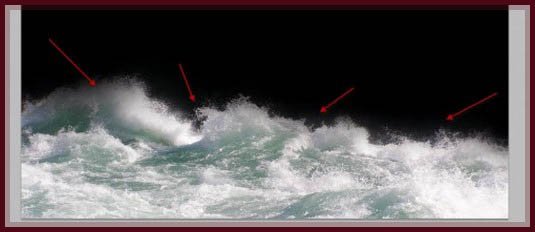
Use a big soft brush to erase the top portion of the ocean as shown below:
Step 2
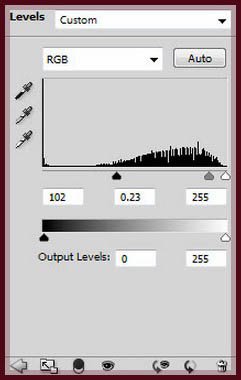
I decided to make this ocean texture look surreal. So let’s add the following three adjustment layers to it:
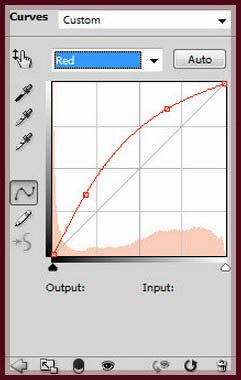
Curves:
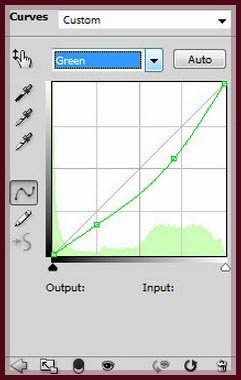
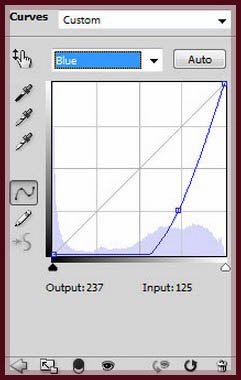
level:
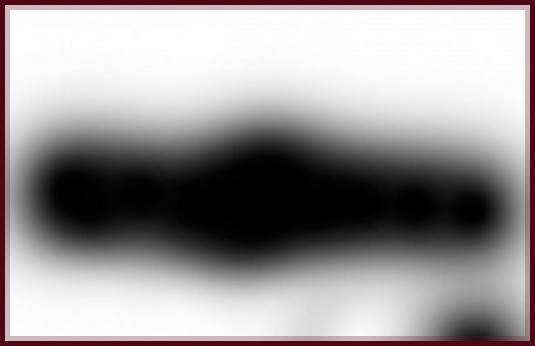
Mask on the Levels adjustment layer:
Color balance:
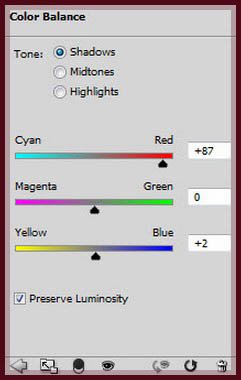
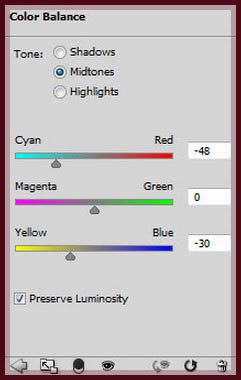
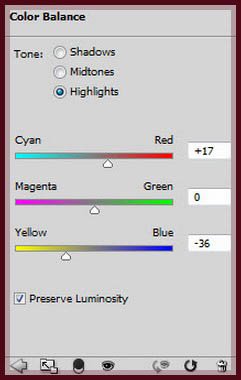
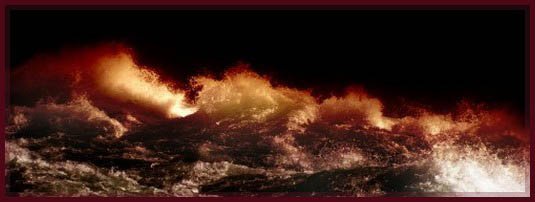
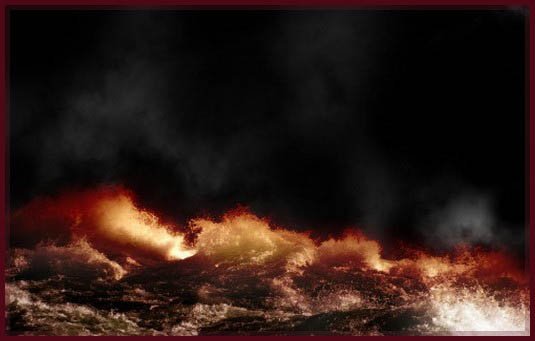
And here is the effect you will have so far:
Step 3
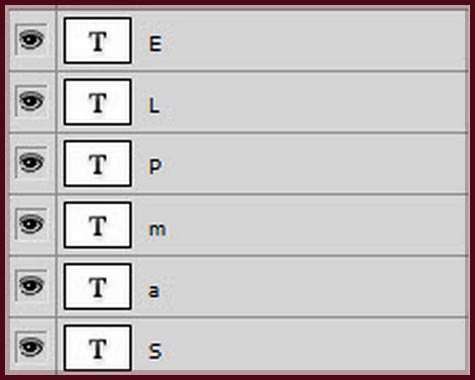
Grab the type tool; use the font we downloaded, type one letter per layer, as shown below:
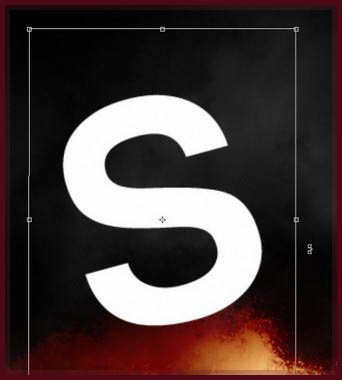
Then use the free transform tool to rotate the text a bit for some variety:
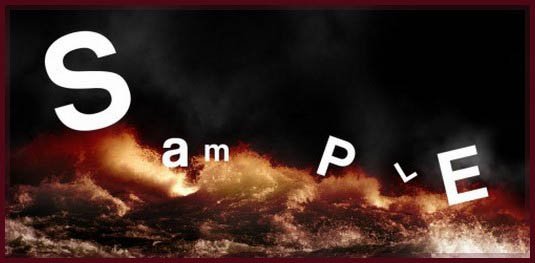
Rotate each of the text as shown below:
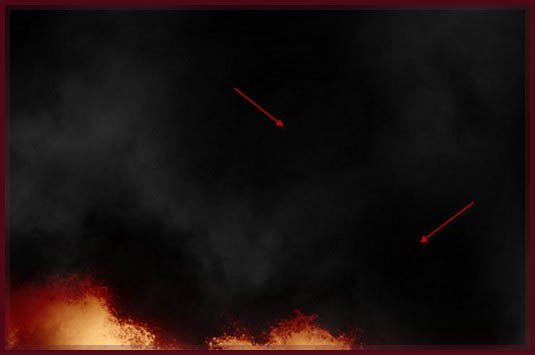
Then create a new layer under all the text layers, render some cloud on it:
[ad#AdBrite]
Use a big soft eraser to erase some portion of the cloud to create more depth for the image:
Step 4
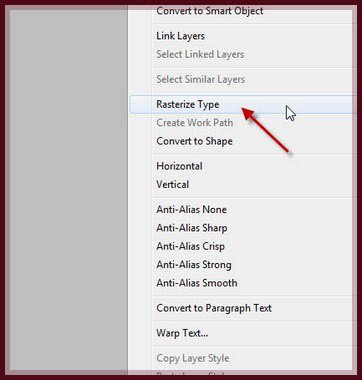
Now we can merge the text layer so it’s easier to edit them all together. To do this, select all the text layers, then right-click and choose “rasterize type”:
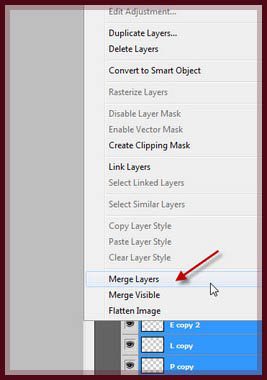
Then right-click on the layers and choose “Merge Layers”:
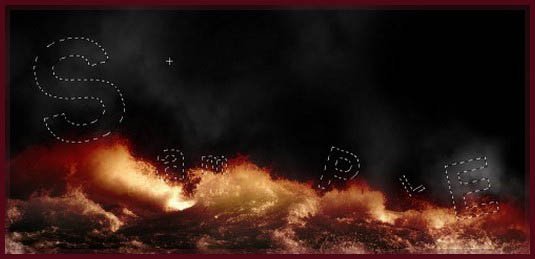
After merging the layers, load the selection of this merged layer by Ctrl + left-click on the thumbnail image on the layer palette:
Use the smoke brush you downloaded, paint inside the selection:
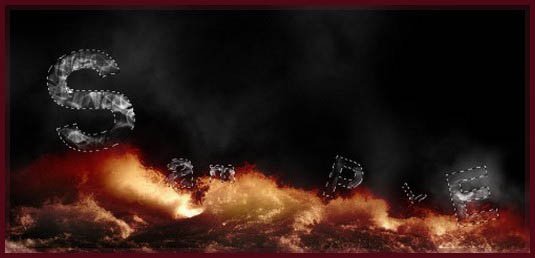
Use a soft eraser to erase the parts shown below on the texture, so the text blends into the surrounding environment:
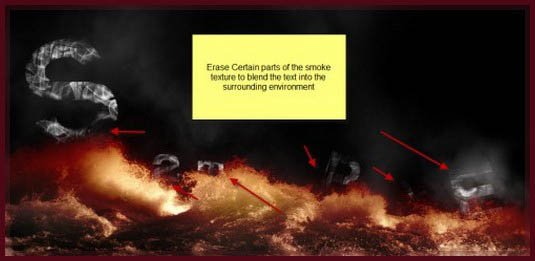
Optional: to make the text darker a bit, you can duplicate the smoke texture layer once and change layer blending mode of the duplicated layer to “color burn”:
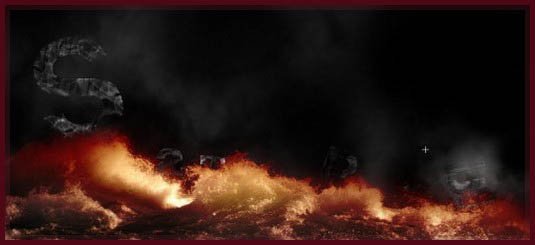
Step 5
Now we can add some bursting lights on the text. To do this, load the selection of the original merged text layer again, create a new layer on top of all previous layers, and fill the selection with white. Name this layer as “light on text”:
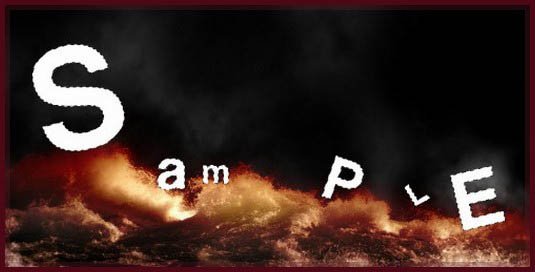
Deselect, and then apply the following Gaussian Blur settings to this layer:
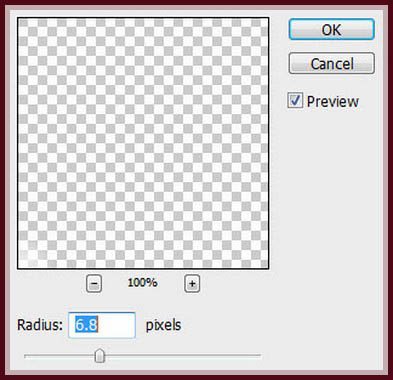
Then apply the radial blur settings on the text. Hit Ctrl + F to apply it a few more times:
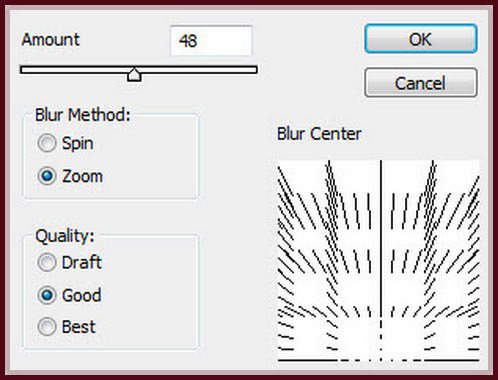
Change the layer blending mode to “overlay”, duplicate this light on text layer twice, and here is the effect you will have on the text:
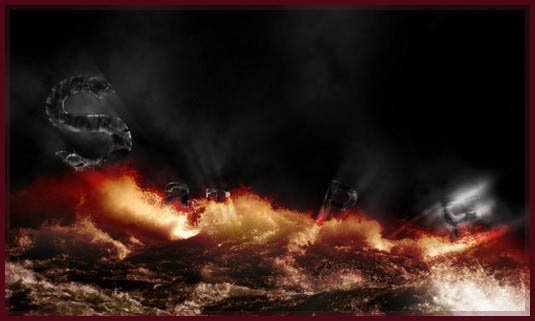
Step 6
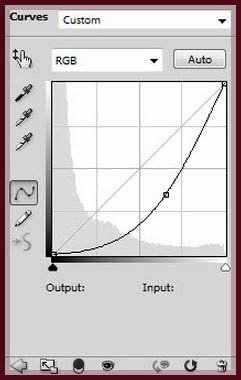
Now let’s do some fine-tunings for this effect. Add the following 2 image adjustment layers on top of all previous layers:
Color balance:
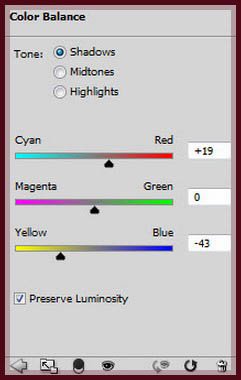
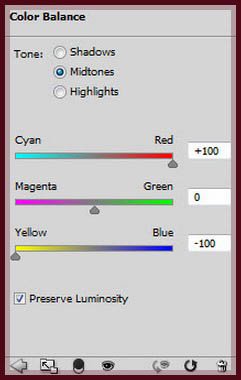
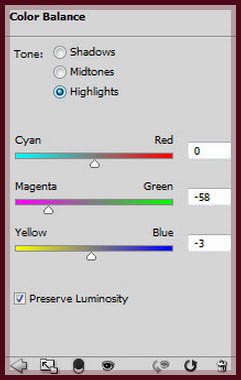
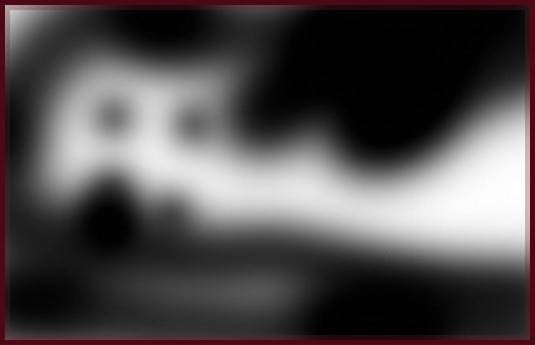
Mask on the color balance adjustment layer:
curves:
Mask on the curves adjustment layer:
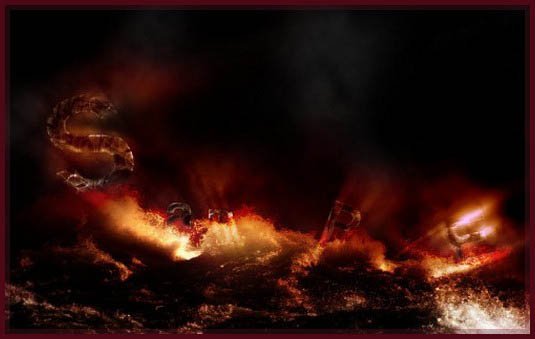
and here is the effect so far:
Step 7
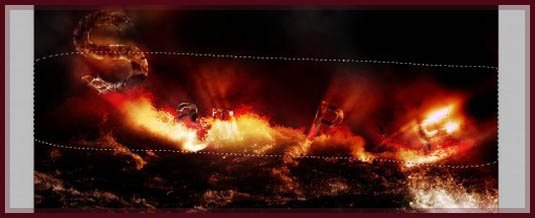
Now let’s add some final details to the text effect. I created a new layer called “text highlight” and use a soft white brush to paint on the area shown below: (set the layer blending mode to “overlay” with 70 opacity)
Add some noise around the text to create some splashing effect. You can do so via the noise filter, or some splatter brush sets:
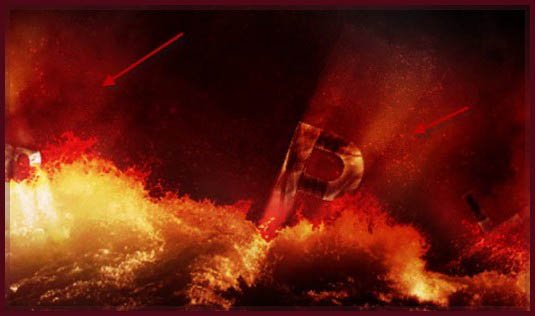
You can also duplicate the radial blur layer we created earlier for the text once, drag this layer to the top and flip it vertically, change the layer blending mode to “soft light”.
Here is the effect you will have:
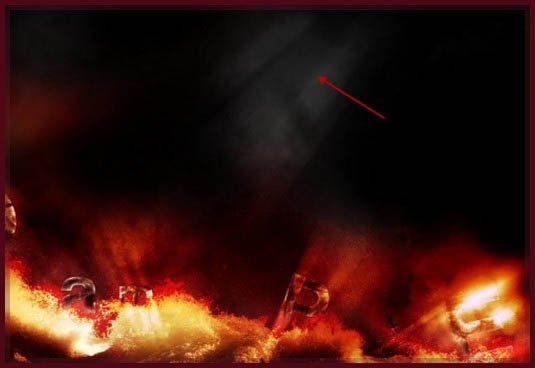
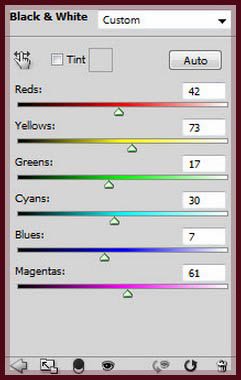
I also added a black and white adjustment layer on top of all layers with the following settings:
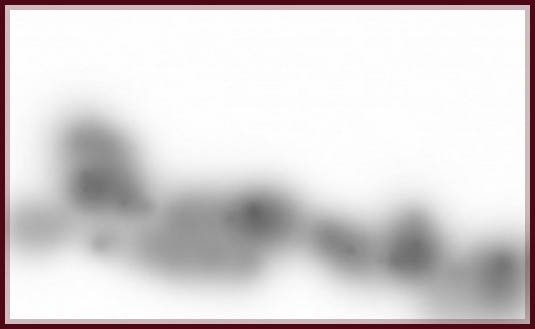
Layer mask on the black and white adjustment layer:
Reduce the layer opacity of this black and white adjustment layer to around 50%, and here is the final effect: (click to enlarge)
(I also added some cloud texture onto it – you’re free to experiment with other texture, filter effect, and see what result they bring you.)

Hope you love this tutorial.
I feel really glad if you give me feedback through comment below. Soon i am going to show more interesting & innovative tutorials so please keep visit our blog. That’s for now.
Have fun!
Reference : psdvault.com

Sorry, the comment form is closed at this time.