
28 Apr Make a Grunge Rock Star Poster

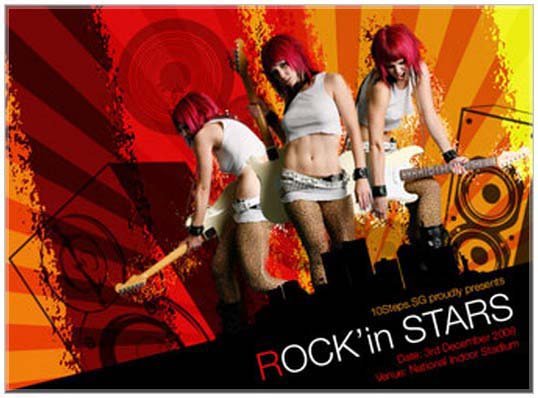
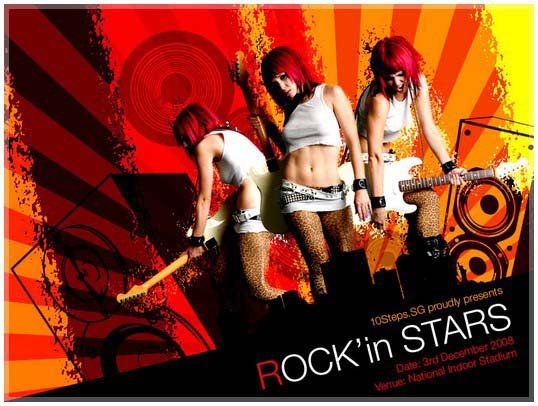
Today’s tutorial i will present how to make a grunge rock star poster using Photoshop. In this tutorial we are going to show you how to manipulate a beautiful guitarist photo into grunge rock poster using vector speakers and amazing Photoshop techniques. So, why not have a try…
For preparing this tutorial you will need this stock:
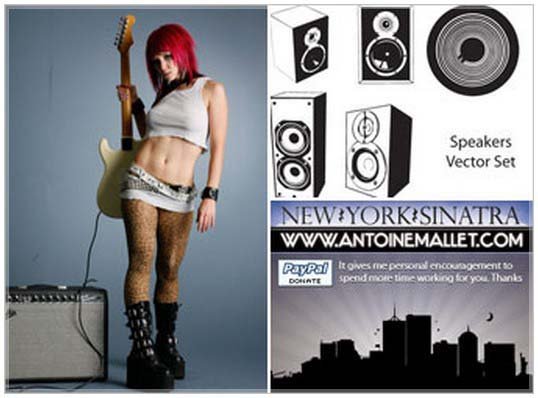
Guitarist
Step 1a – Cropping Figures
Create a document with size 800×600 pixels. Open up Oh Yeah 3 and crop out the figure using the Filter > Extract tool. Refer to this post for other methods on extraction.

Step 1b – Cropping Figures
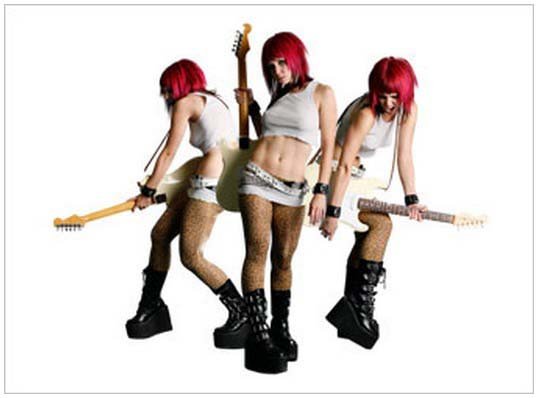
Do the same extraction for the other 2 images, Oh Yeah 4 and 5. You can find these other figures in the gallery of Mjranum Stock. Trust me, you gonna love his stock images.
Step 2 – Setting Up Background
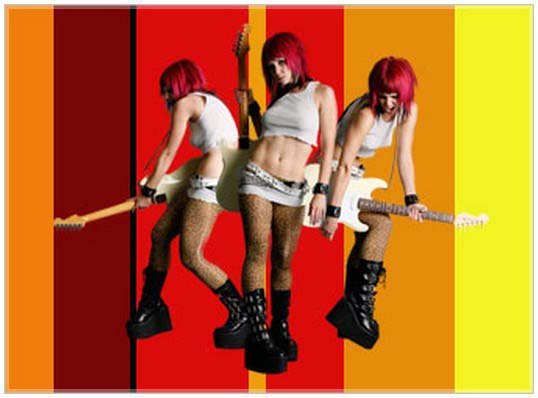
Create a new layer below the figures and name it as Colorbars. Using Rectangular Marquee tool, draw several boxes and fill them up with different colors.
The colors used in the example are (starting from the left) #F17D0C, #780606, #000000, #DC0C0C, #EE9D0D, #E58C0C and #F4F424.
Step 3a – Create Displacement Map
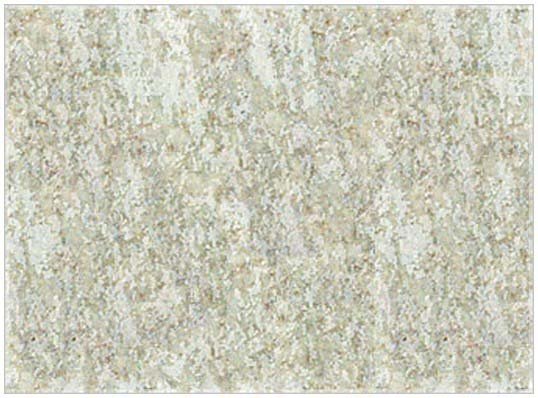
Create a new document with size 800×600. Select the Paint Bucket tool, set the style to Pattern and choose a default pattern call Textured Tile. Apply this pattern by clicking onto the Background layer.
Step 3b – Create Displacement Map
Unlock the Background layer by double-clicking on it and rename it to Texture. Go to Image > Adjustments > Desaturate. Then follow by Image > Adjustments > Levels. Set the values to be 130, 0, 220. Save this document as Displace.PSD. You may close this document after that.
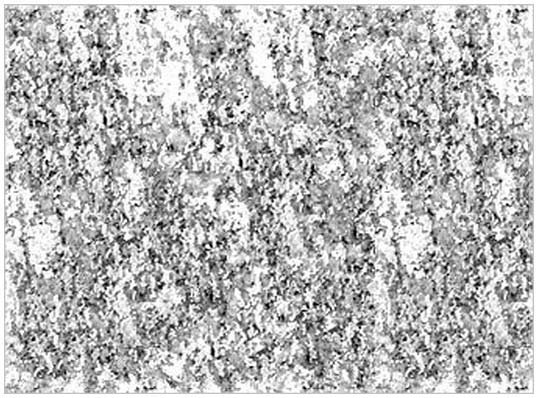
Step 4a – Adding Grunge Effect
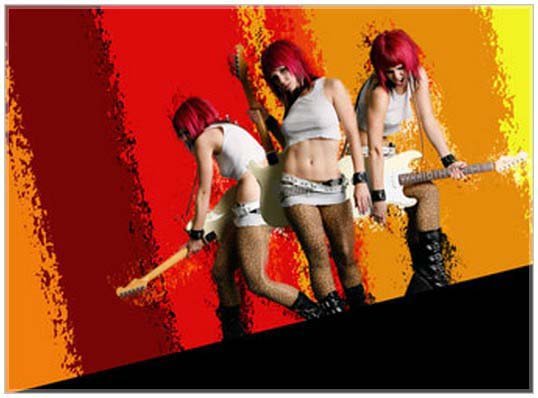
Select all the figures and Color bars layers, go to Edit > Free Transform. Rotate these images at -15 angle.
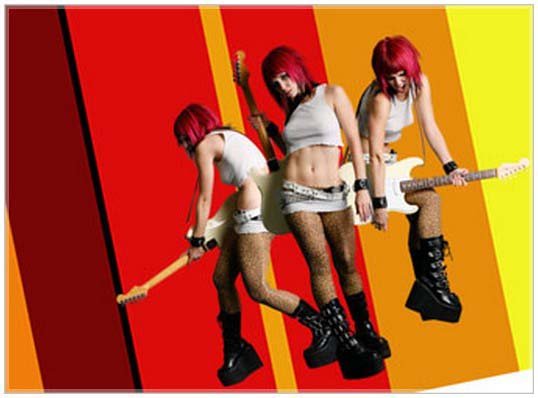
Step 4b – Adding Grunge Effect
Now select the Color bars layer and go to Filter > Distort > Displace. Set both Horizontal and Vertical Scale to 20. Choose Stretch to Fit and Repeat Edge Pixels. Hit OK and choose to open the Displace.PSD saved at Step 3b
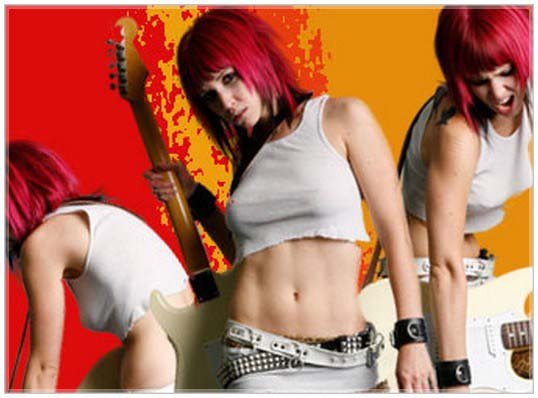
Step 4c – Adding Grunge Effect
Duplicate a layer for each figure, Oh Yeah 3, 4 and 5. Select the bottom copy of each figure, go to Filter > Distort > Displace. Set both Horizontal and Vertical Scale to 20. Choose Stretch to Fit and Repeat Edge Pixels. Hit OK and choose to open the Displace.PSD saved at Step 3b.
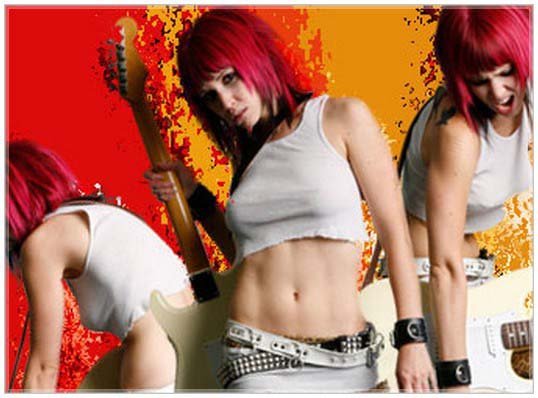
Step 5 – Adding Footer
Create a new layer and name it as Footer. Using the Polygonal Lasso tool, draw a selection similar to the diagram and fill it with #000000.
Step 6 – Adding Burst
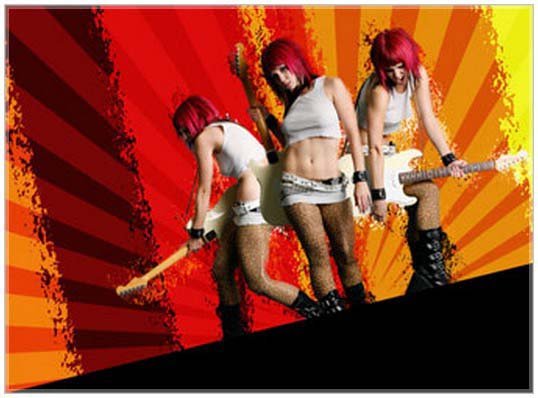
Create a new layer between the Color bars and figures and name it as Burst. Using Custom Shape tool and choose Registration Target 2 path. Go to Edit > Free Transform Path and resize the shape as shown on the left.
Go to Paths tab and Ctrl+left click on the path to load selection. Go back to Layers tab, select Burst layer and fill it with #000000. Set the Blend Mode to Overlay and opacity to 50%.
Step 7 – Adding Speakers
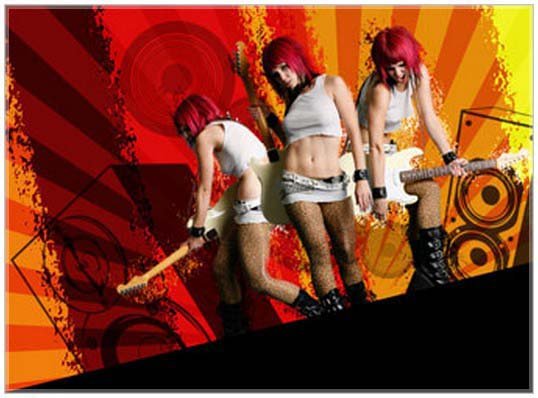
Open up the Speakers_by_Thegoldenmane.AI in Photoshop. Set the resolution to 300 and leave the rest as default. Using the Rectangular Marquee tool, select the speakers you need and drag them as layers above the Burst layer. Go to Edit > Free Transform to rotate and resize them as shown in the diagram.
Step 8 – Adding New York City
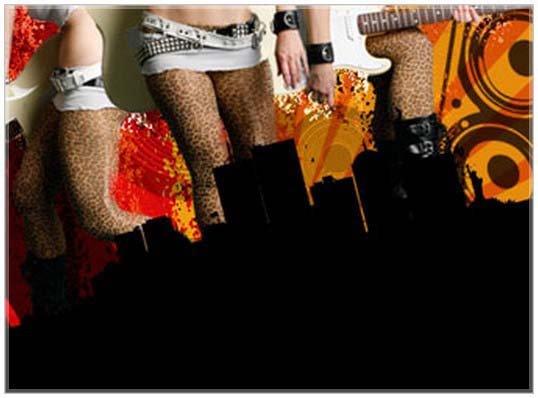
Open up the New York Sinatra AI in Photoshop. Set the resolution to 300 and leave the rest as default. Using the Rectangular Marquee tool, select the city and drag it as layer directly below the Footer layer. Go to Edit > Free Transform to rotate and resize it as shown in the diagram.
Step 9 – Adding Texts
Type in some information at the footer area. And you are almost done!.
Step 10 – Adjusting the Levels
I did abet more adjustments to the Levels in general by creating a new Levels Adjustment Layer. The values are set at 38, 1, 223.
Hope you can learn something new from this tutorial.
I feel really glad if you give me feedback through comment below. Soon i am going to show more interesting & innovative tutorials so please keep visit our blog. That’s for now.
Have fun!
Reference: 10steps

Sorry, the comment form is closed at this time.