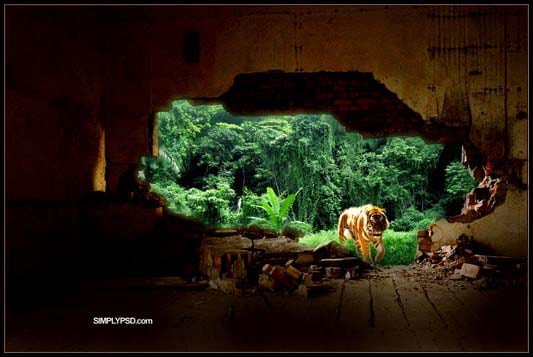
01 May Outstanding Photo Manipulation in Photoshop

In this tutorial we will present outstanding photo manipulation with urban area with tiger in Photoshop. We use very simple methods behind creating an image that contains a window to another world within it, as we smash a hole in urban life to reveal the jungle waiting in the wings and including simple transformations, creating clipping paths and layer masking. So, let’s have a try…
Step 1:
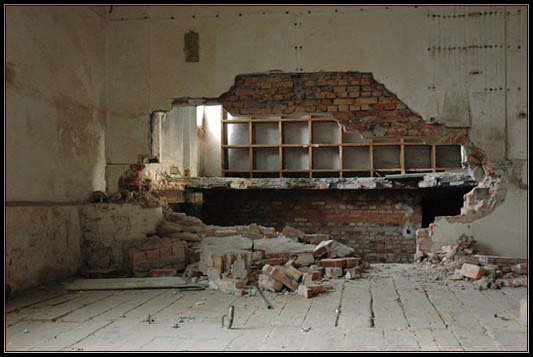
Open up ‘wall.jpg’ that you just downloaded. As uninspiring as it looks right now, this photograph is actually going to serve as the basis for our finished image – so take a moment to get familiar with it.
Step 2:
Etching is the process of tracing around an element to extract it from its background. In this instance, what we actually want to do is etch the central hole in the wall, and then remove it to create a frame. Bearing this in mind, hit ‘P’ to select the Pen tool and zoom in to 300-400%.
Step 3:
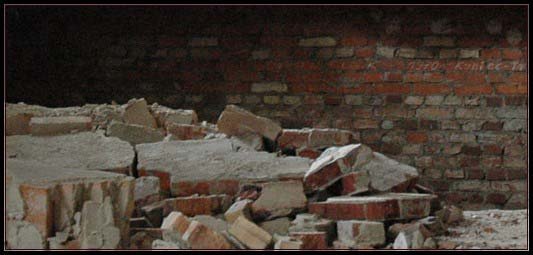
Start creating anchor points that trace precisely around the gap in the wall. Experiment with dragging your mouse once you have clicked to get a curved result. If curving around an object results in an anchor that doesn’t allow you to continue etching easily, try Alt-clicking the anchor point to ‘pick up’ the path.
Step 4:
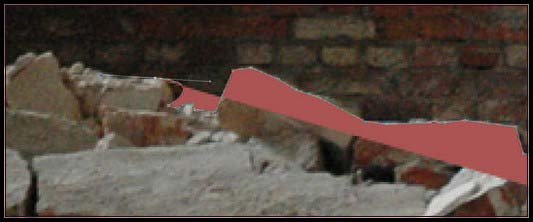
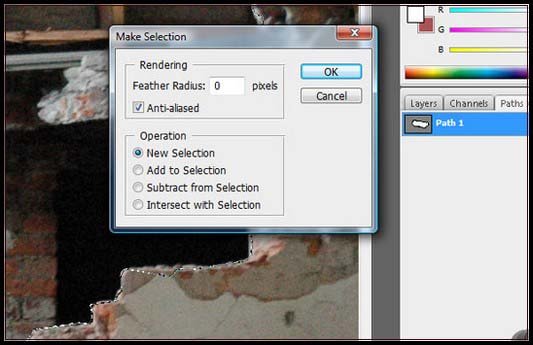
Continue tracing around the hole until you reach your original anchor point. Click on it again to complete the path. Bring up the Paths palette and save this path as ‘Path 1′. Now, right-click in the middle of your path and select Convert to Selection. Ensure Feather Radius is set to ’0′ and click OK.
Step 5:
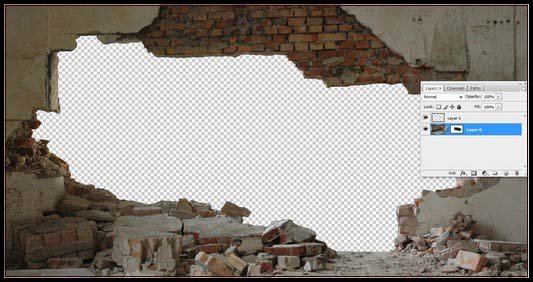
Once you have made this selection, it’s time for you to mask out the hole. Add a layer mask by simply clicking the Add Layer Mask button at the bottom of your Layers palette. This will automatically create a mask based on your selection.
Step 6:
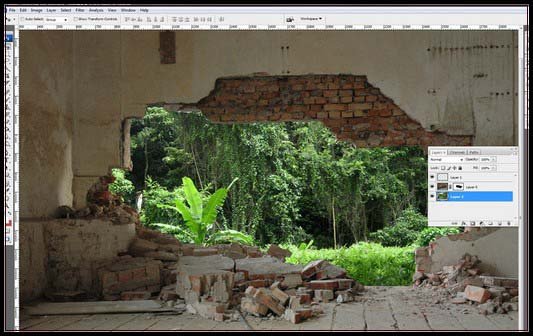
Import a forest Import ‘forest.jpg’ that you just downloaded. Duplicate the background layer into your main composition. Now drag it below your masked Wall layer in the Layers palette. It should drop neatly behind the hole and look like a new backdrop.
TIP: Dare to experiment!
Make sure you put the techniques discussed here to good use. Don’t just follow the steps and then move on – take a minute to experiment with everything along the way and ensure you have a thorough understanding of each process. These methods are fundamentals that can form the basis of a balanced skill set, but they’ll only end up in your toolbox if you don’t take the time to comprehend them thoroughly.
Step 7:
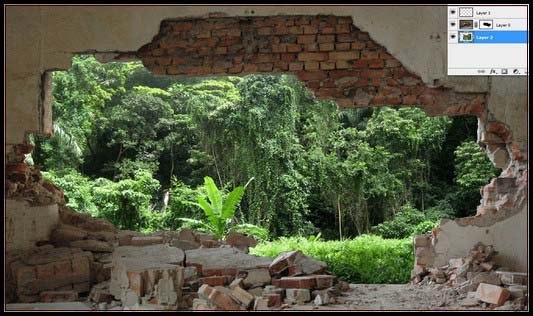
Hit Ctrl-T to bring up the Free Transform dialog. Hold down Shift to constrain proportions, and re size your forest so that it fits snugly into the hole in the wall. Position the Forest layer so that the sky is barely visible and the foliage sits neatly centralized.
Step 8:
Let’s make this forest look a little leafier and more lush – press Ctrl+B to bring up the Color Balance dialog. Hit the ‘Shadows’ radial, and tweak towards Blue. Now go to the Midtones and move towards Cyan.
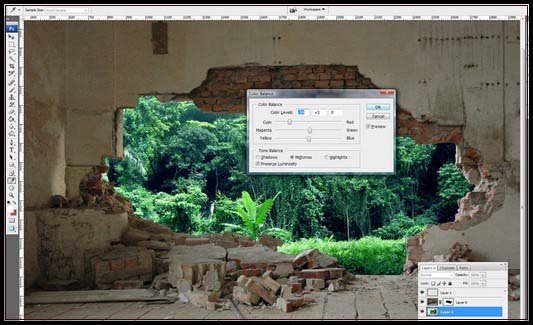
Step 9:
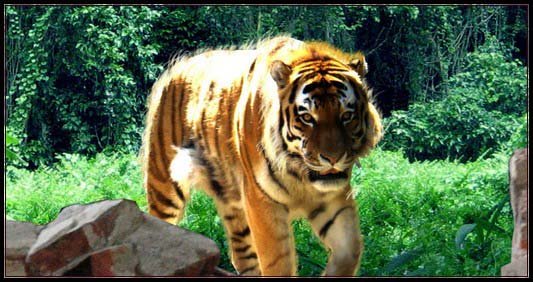
Open up the ‘tiger.jpg’ that you just downloaded. Now repeat the etching process, taking care to be as meticulous as possible. Remember, the higher in you zoom, the better quality etch you will end up with.
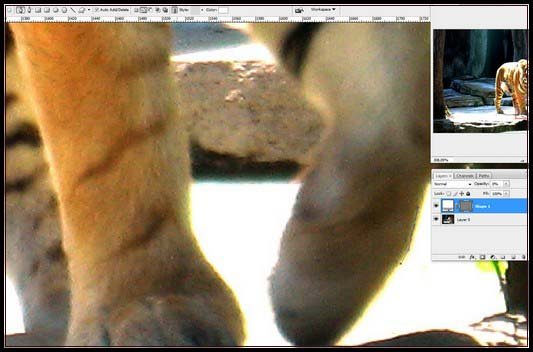
TIP: Flexibility is the key
A tutorial is just a step along the path, never the complete journey, so do feel free to use these techniques on your own photographs.
Step 10:
Duplicate the Tiger layer into the main composition. Position it below the etched Wall layer, but above the modified Rain Forest layer. Free transform the layer so the tiger fits proportionally with the rest of the piece.
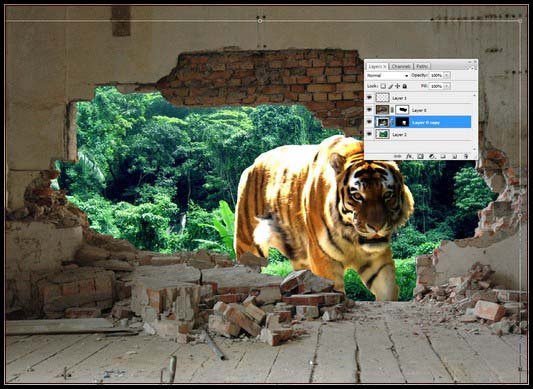
Step 11:
One of the problems with bringing etched animals into compositions is that they often have a ‘cutout’ feel. To remedy this, bring up the Brushes palette and browse through the presets until you find the Dune Grass brush.
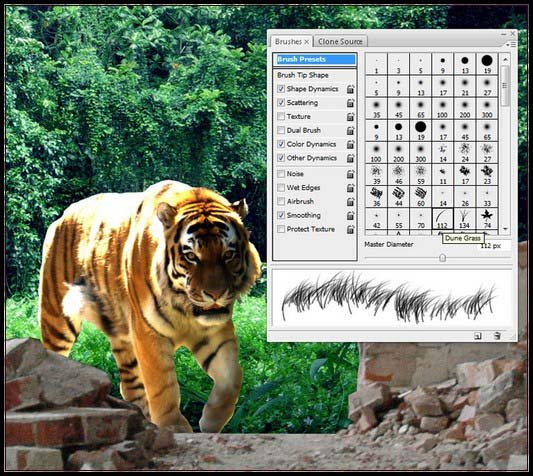
Step 12:
The Dune Grass brush actually utilities both your foreground and background colors. Bearing this in mind, use the Eyedropper tool in order to sample two different highlight colors from your tiger’s back. Create a new layer and then brush some fur on!
Step 13:
Repeat these processes around the entire exterior of the tiger making sure you frequently re sample both colors from his coat. Continue until the ‘cutout’ effect is completely neutralized. Feel free to use as many layers as you require in fact, the more you use the better.
Step 14:
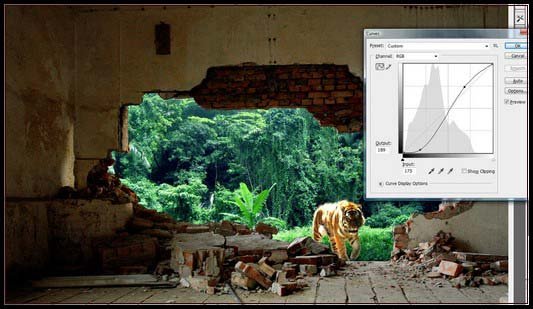
Duplicate your layer and hit Ctrl-M to bring up the curves dialog. Bring the shadows down and the highlights slightly up increase the contrast; you want to match up as closely as possible with the Forest and Tiger layers.
Step 15:
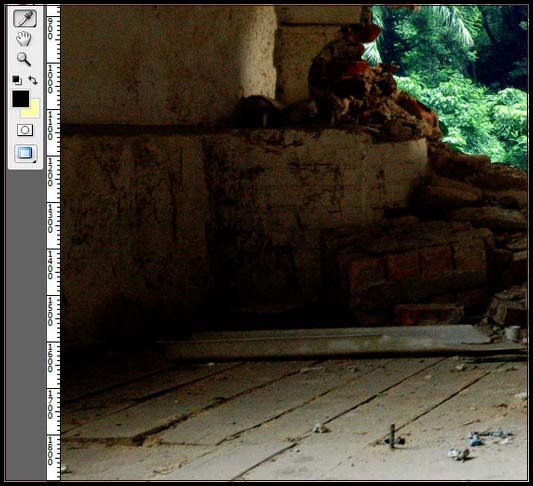
Because the bottom half of the Wall layer is drastically brighter than the top, we have an imbalance. To fix this, we’ll add a ‘Burn’ layer to create a natural vignette. Use the Eyedropper to select a dark color from the shadows of this photo.
Step 16:
Create a new layer and select a large soft brush around 300px in diameter. Set Opacity to 10%and start gently brushing in a vignette at the bottom of the image. Don’t worry about the tonal disparity – we’ll fix this up shortly.
Step 17:
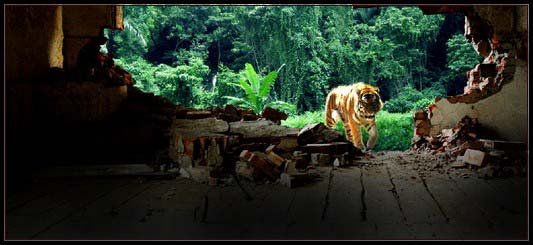
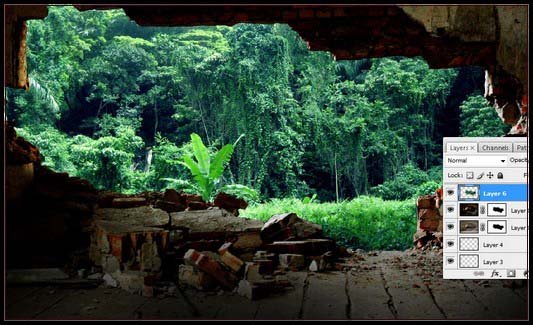
Bring up the Paths palette again, and bring up your original hole path that you etched in the first steps. Now move a Layers tab. Select your Forest layer, right-click, make a selection and duplicate the selection to a new layer. Position it above the Wall layer.
Step 18:
Now apply a mild Gaussian Blur to the layer – this will softly diffuse the light out across the bricks and simulate the outside lighting conditions. Ctrl-click this blurred layer to get its selection. Contract your selection by 10 pixels, Feather by 5 and clear the remainder, to be left with the finished effect.
Step 19:
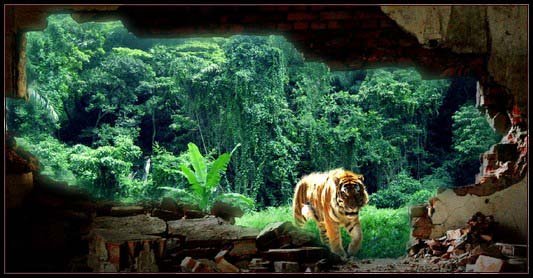
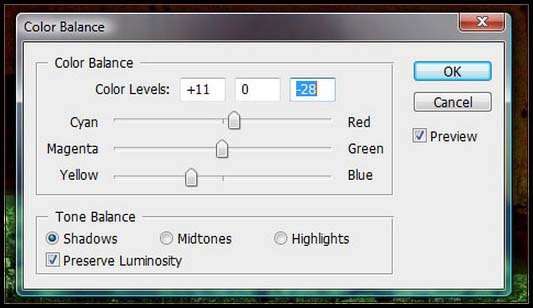
To wrap up, all we need to add is a Color Balance adjustment layer. Add one over the top of all your other layers (Layer>Adjustment Layers> Color Balance). The first thing to do is to drag the shadows towards Red and Yellow 20 Color Balance part two Now drag the Mid tones towards Yellow, and the Highlights towards Red. Take your time to balance these values here. This adjustment layer is the only thing that you really need to unite these elements, so be sure to give it the time and care it needs.
The Final Image:
Hope you can learn something new from this tutorial.
I feel really glad if you give me feedback through comment below. Soon i am going to show more interesting & innovative tutorials so please keep visit our blog. That’s for now.
Have fun!
Reference: simplypsd


RUPAM JYOTI BORA
Posted at 03:03h, 23 MayWorth tons of appreciation … This tutorial is very very fantastic, I liked it very very much. Thanx Arifur and hope to get more of like this in future.
The other day, I thought of creating ‘Wrinkles’ on my (23yrs old) Sisters’ face to give a ageing (+80 yrs) look – but I did not find that easy – maybe I am just a beginner, cud you plz help, I‘ll be very thankful to u.