
30 Sep Stylish Color Effects with Alpha Channel

Sometime we are unable to turn a photograph into color effects of painting by simply using the Photoshop. This tutorial provides a simple method of achieving that color effect and alpha channel.
Preparations:

We will need an image of a model, probably a close-up on the face. I’m using Keeley Hazell for this tutorial.
Step 1 – Setting Up Background:
Create a document of size 750 by 550px and save it as example.psd.
Fill the background with #E6D4A7.
Step 2 – Create Strip Pattern:
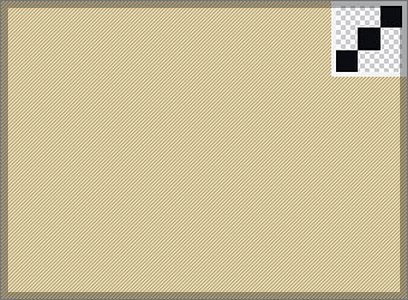
Create a new document with 3 by 3px, and then create a new layer above Background layer.
Select Pencil tool with 1px and color #000000; paint 3 dots as shown on the left. Delete the Background layer. Press Ctrl+A and go to Edit > Define Pattern. Close this document w/o saving.
In example.psd, create a new layer. Select Paint Bucket tool and fill in the pattern you created.
Step 3 – Transparent Rainbow:
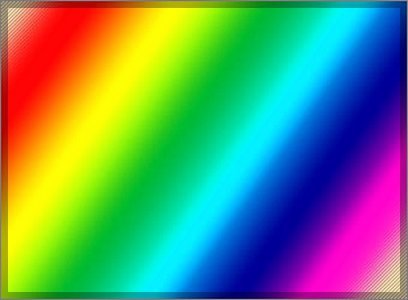
Create a new layer above the rest. Select the Gradient tool and choose Transparent Rainbow.
Drag the gradient from top-left of the document diagonally across to the bottom-right.
Step 4 – Create a Color Frame:
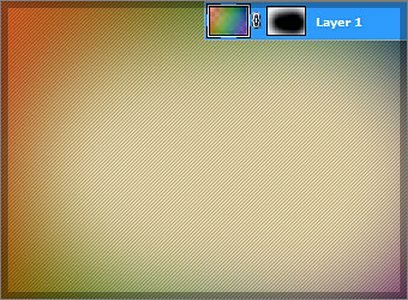
Select the rainbow gradient layer and go to Filter > Blur > Gaussian Blur. Set the radius to 250.
Create a layer mask on this layer and fill the mask with #FFFFFF. Using Soft Brush tool of size 350px and color #000000, paint center of the mask as shown on left.
Step 5 – Selecting Image Channel:
Open up your model image and drag it into example.psd using Move tool.
Hide the rest of layers except for the model. Go to Channels tab and choose the brightess image out of the Red, Green and Blue (for mine is Red).
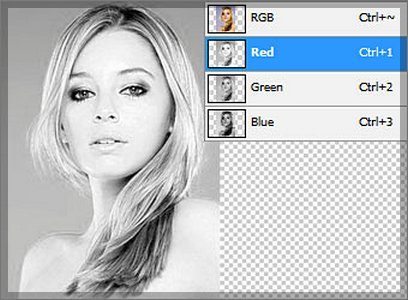
Step 6 – Create Alpha Channel:
Ctrl+left click on the Red channel layer to load selection of those bright areas. Click on Create New Channel to generate an alpha channel and fill it with #FFFFFF.
Using Soft Brush tool of size 100px and color #FFFFFF, paint away the grey background behind the model.
Note: View animation on the left.
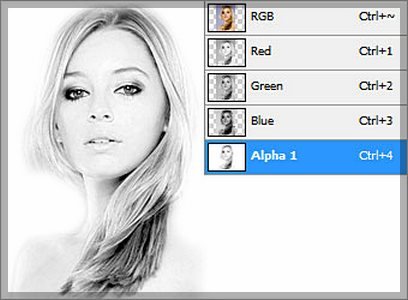
Step 7 – Gradient on Model:
Ctrl+left click on the Alpha Channel to load selection. Go to Select > Inverse. Back to Layers tab and create a new layer. Fill the selection with any color.
Right-click on the layer and choose Blending Options. Activate Gradient Overlay and choose the preset Yellow, Violet, Orange, Blue. Set its angle to -45 and scale to 150.

Step 8 – Enhancing the Colors:
Duplicate the model layer and go to Filter > Blur > Gaussian Blur. Set its radius to 3px.
Right-click on duplicated layer and choose Blending Options. Set the mode of Gradient Overlay to Hard Light.

Step 9 – Drawing Lines:
Create a new layer and draw some white vertical lines of various sizes with Pencil tool.
You will need to hold down the Shift key while drawing so your lines will be straight.
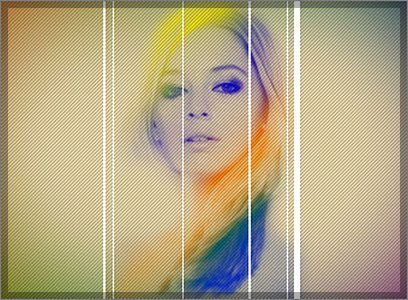
Step 10 – Fading Lines:
Go to Edit > Transform > Rotate and set its value to 45.
Using Soft Eraser tool of size 150px, fade the two ends of the lines.
Repeat Step 9 and 10 if you need more lines on your model.

Optional:
Add some texts to complete the design. That’s all! Hope you like this tutorial. If you have any question or suggestion then you can comment below or contact Clipping Path Service Provider. Thank you!!!

CREDIT: 10steps.sg

Sorry, the comment form is closed at this time.